Den heutigen Release von Risen 2 habe ich mal zum Anlass genommen diverse Optimierungsmöglichkeiten aufzuzeigen und zu erläutern.
Viele Einstellungen lassen sich wie schon bei Risen oder Gothic 3 direkt in der Config Datei ändern. Die Datei ConfigDefault.xml befindet sich bei einer Standardinstallation von Steam unter folgendem Pfad: C:\Programme(x86)\Steam\SteamApps\common\risen2\data\ini
und lässt sich mit dem Windows Editor öffnen, bearbeiten und speichern (Rechtsklick -> Öffnen mit... oder Rechtklick -> Bearbeiten). Vorher sollte aber auf jeden Fall eine Kopie der Originaldatei erstellt werden.
Grafik
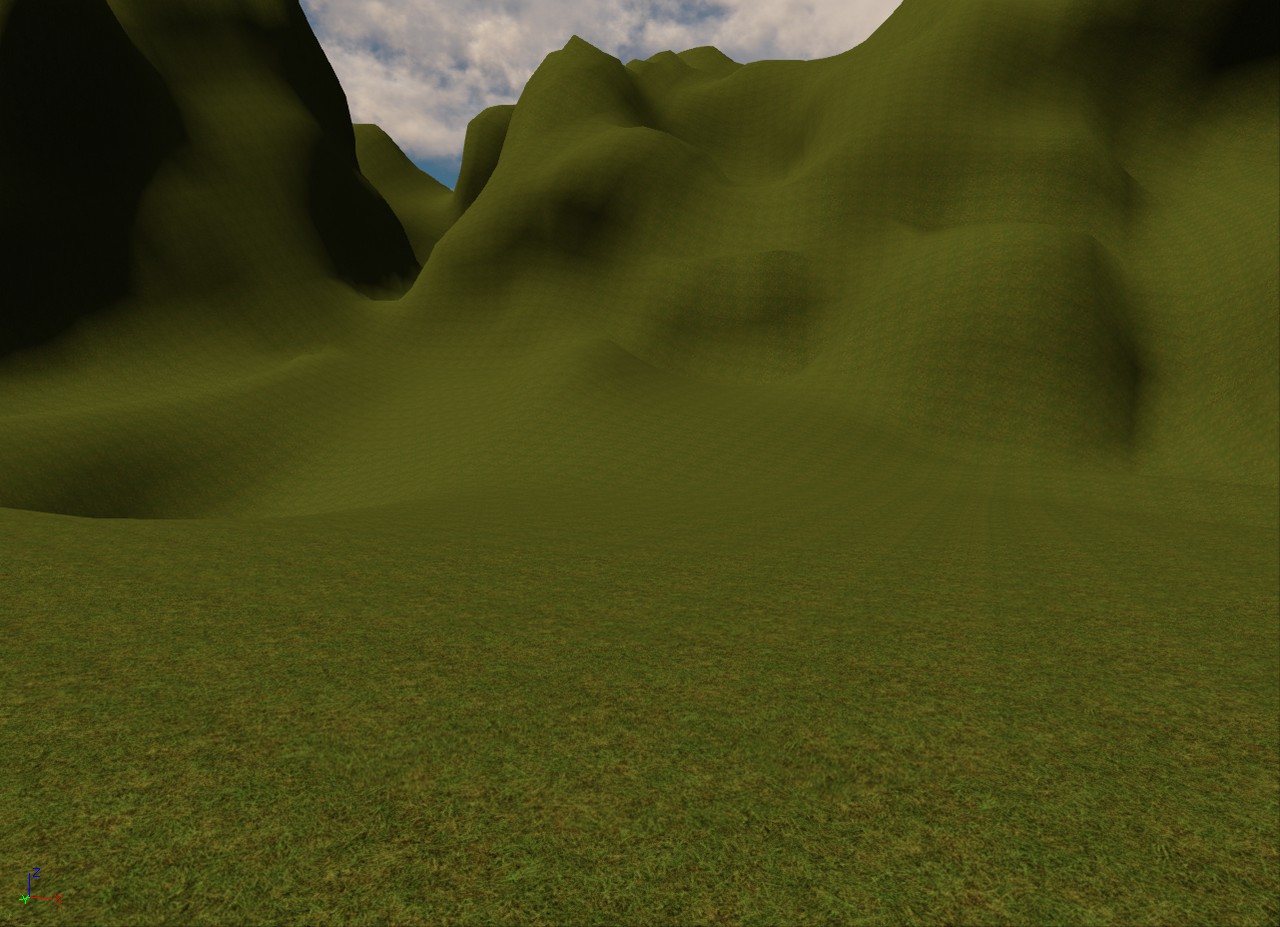
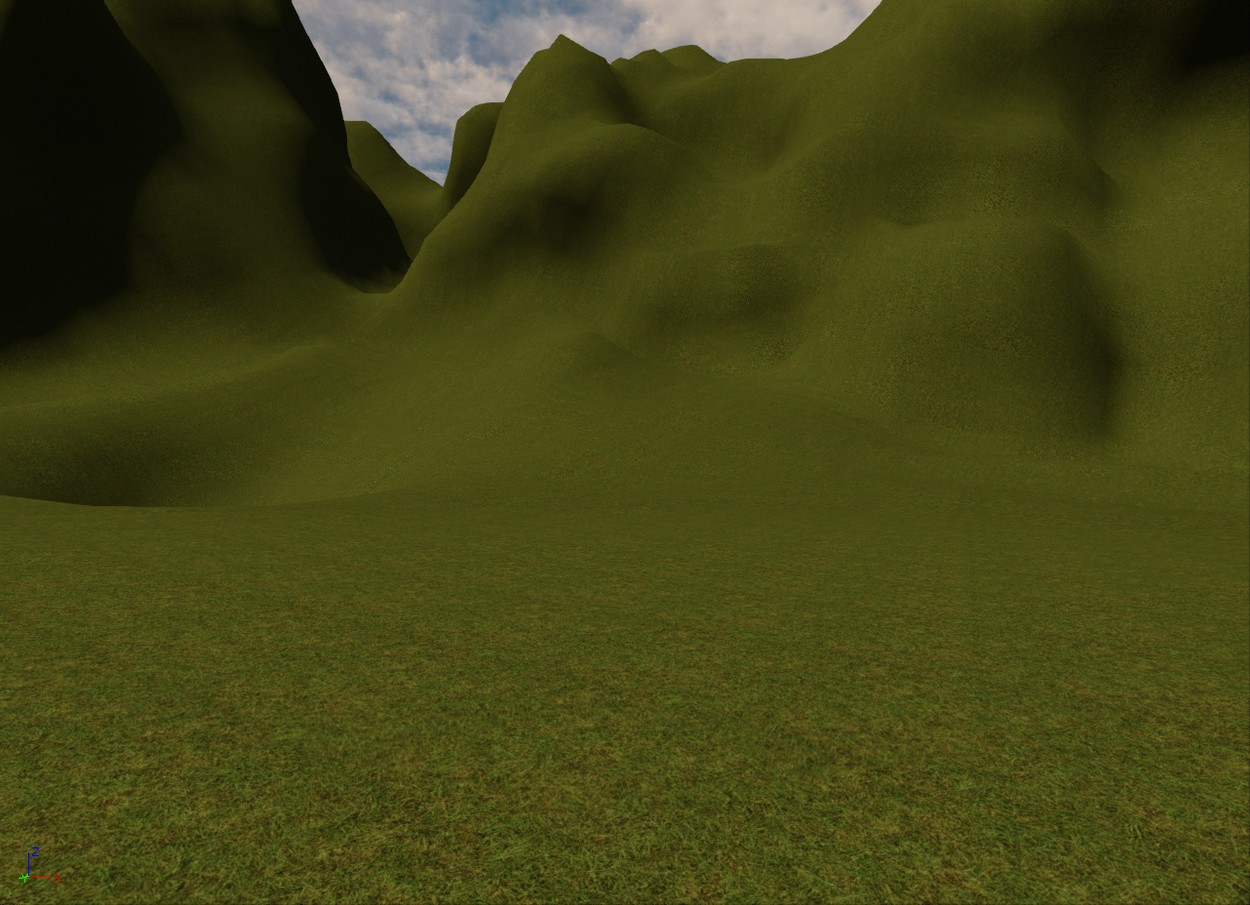
Sichtweite
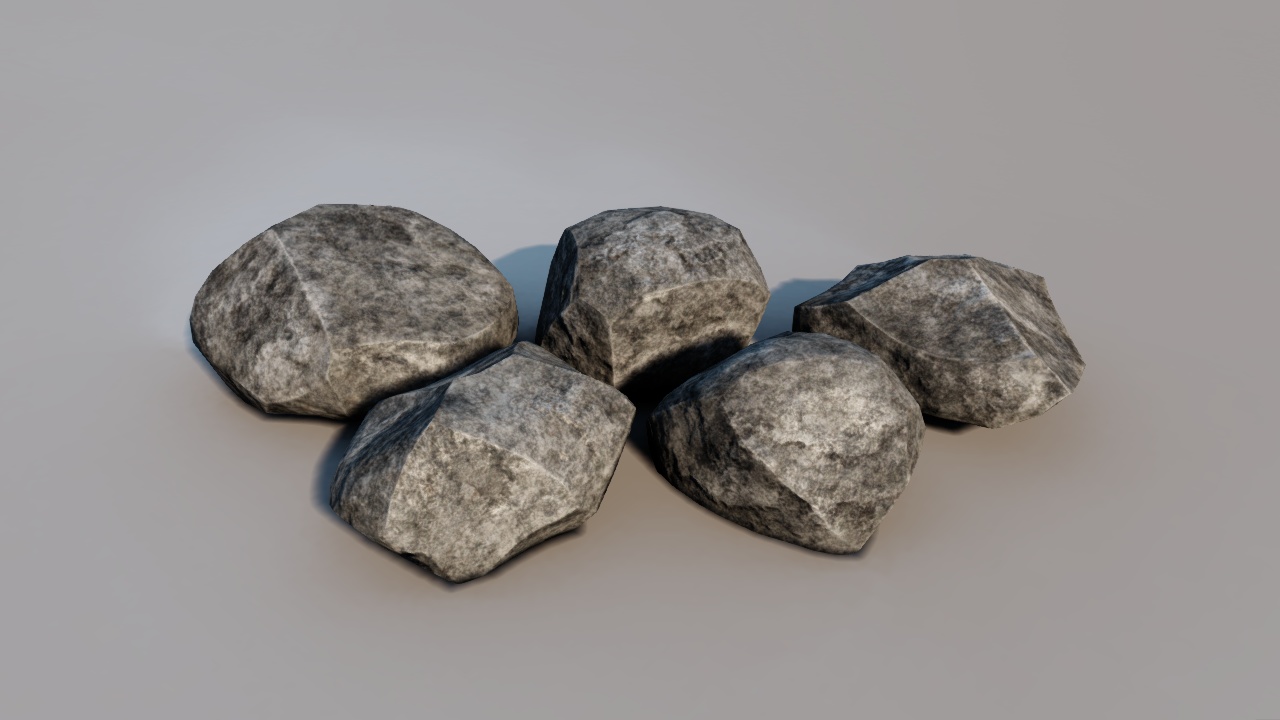
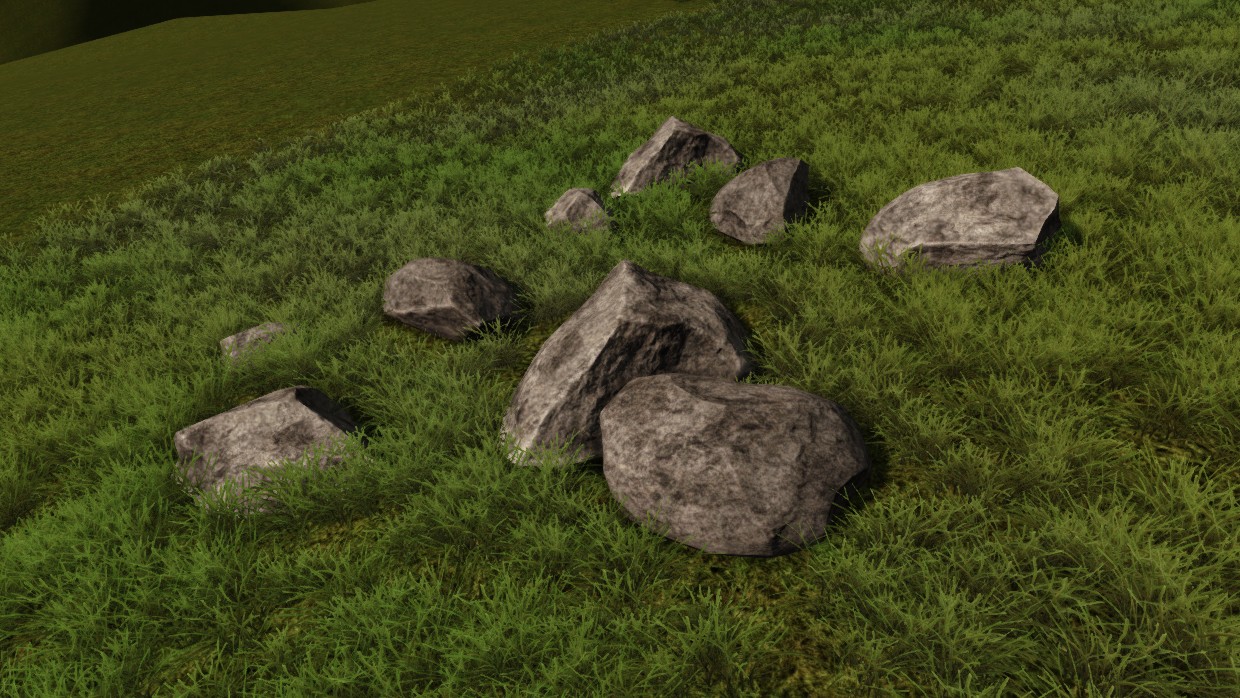
In Risen 2 werden alle Objekte entsprechend ihrer Größe in klein, mittel und groß unterteilt. Die Sichtweite lässt sich für jede der drei Gruppen getrennt einstellen. Insbesondere kleine Objekte wie Flaschen oder Teller werden erst auf sehr kurze Distanz eingeblendet, aber auch Steine und andere größere Objekte ploppen zum Teil sichtbar störend auf.
Ähnlich funktioniert es bei den Speedtrees, die entweder direkt ausgeblendet oder durch eine Billboard-Textur ersetzt werden. Zu den Speedtreemodellen zählen sowohl sämtliche Bäume als auch die wachsenden Büsche.
Item_Small="2000.0"
Item_Medium="4000.0"
Item_Large="6000.0"
NPC_Small="2000.0"
NPC_Medium="4000.0"
NPC_Large="6000.0"
Level_Small="7000.0"
Level_Medium="12500.0"
Level_Large="18000.0"
Object_Small="1500.0"
Object_Medium="4500.0"
Object_Large="7000.0"
SpeedTree_Small="3000.0"
SpeedTree_Medium="7000.0"
SpeedTree_Large="12500.0"
Events_Small="3000.0"
Events_Medium="5000.0"
Events_Large="7500.0"
Effects_Small="3500.0"
Effects_Medium="7500.0"
Effects_Large="12500.0"
Lights="7000.0"
Terrain="100000.0"
Analog dazu können im selben Abschnitt die Sichtweit von Items, NPCs oder Lichtern (z.B. Fackeln) angepasst werden.
Die Option ViewRange im Abschnitt Vegetation regelt die Sichtweite von Gräsern und kleinen Büschen. Ich habe den Wert bei mir glatt verdoppelt, der Unterschied wird aber nur in sehr weitläufigen Arealen sichtbar.
ViewRange="10000.000000"
Enabled="True"
Density="1"
Die absolute Sichtweite wird über den Parameter zFarHigh/Medium/Low
geregelt. Dieser Wert ist bereits ausreichend groß und bringt beim
Erhöhen praktisch keine optische Verbesserung. Zum Vergleich: bei Risen
lag das Maximum bei nur 60000.
zFarHigh="240000.00"
zFarMedium="120000.00"
zFarLow="60000.00"
zNear ist die Entfernung
zur Kamera ab der Objekte ausgeblendet werden. Senkt man diesen Wert,
ist es nicht möglich in einigen Fällen hinter Wänder oder unter den
Boden zu gucken.
Schattenqualität
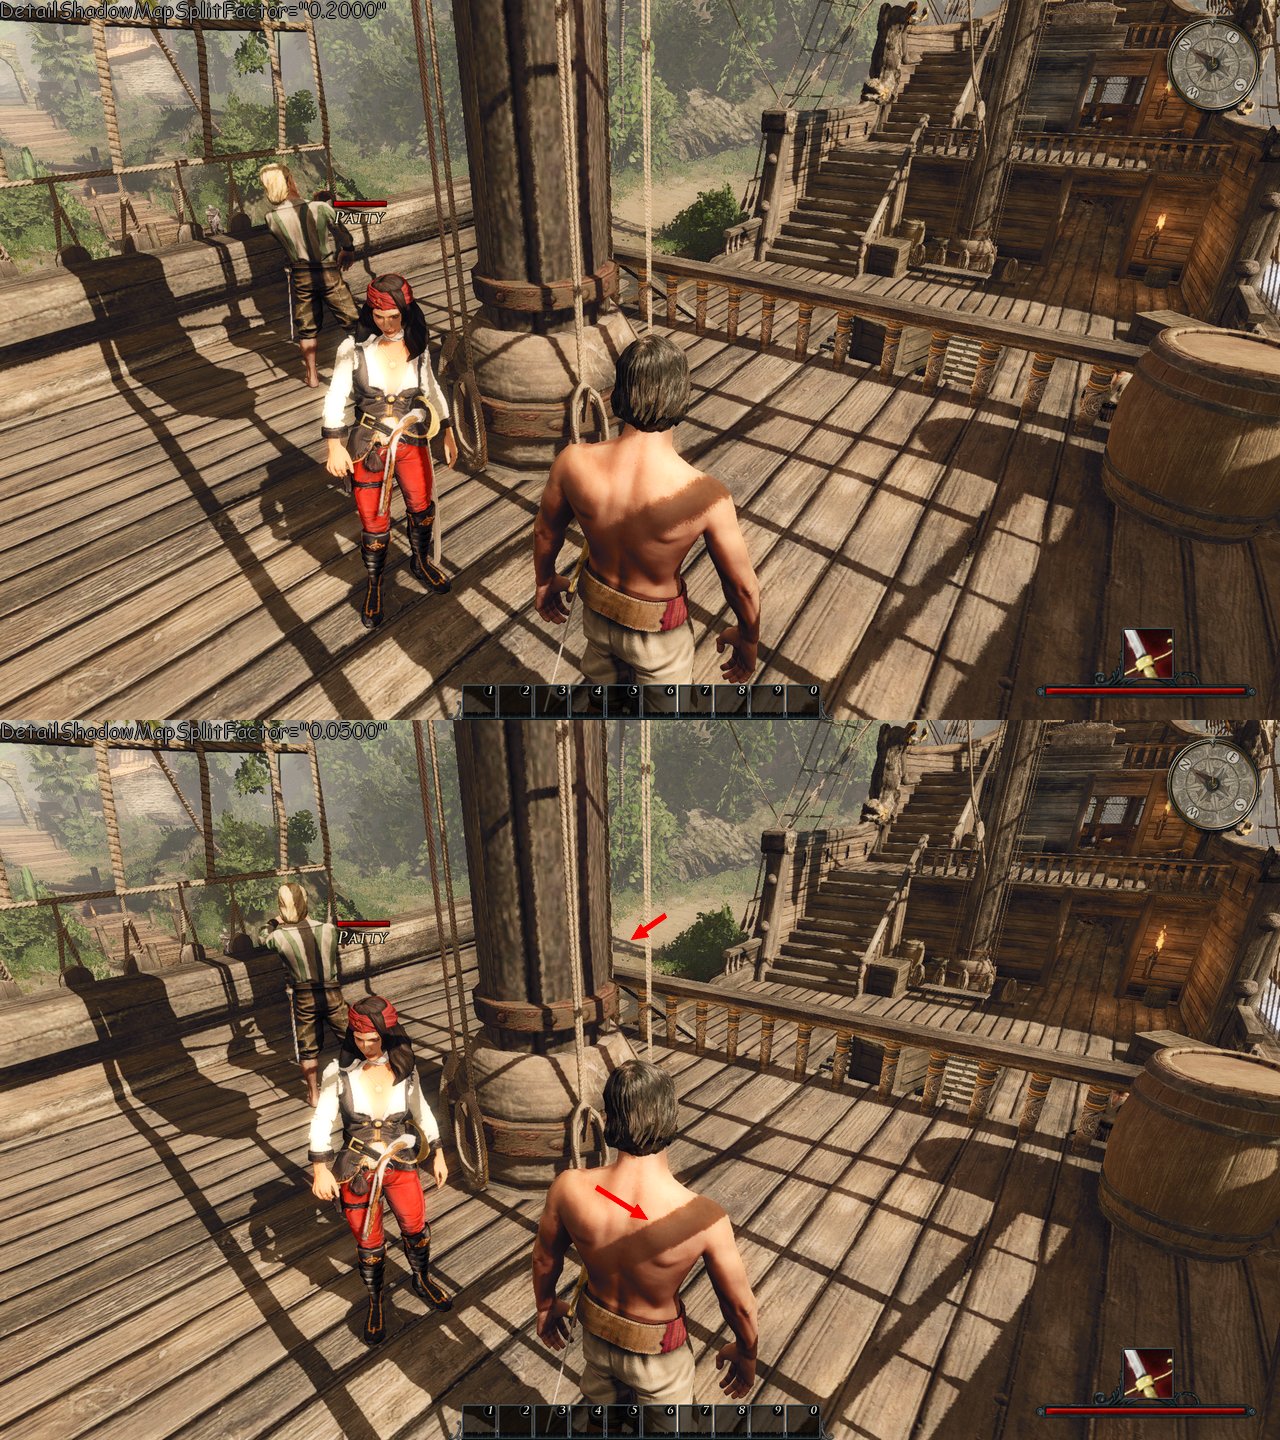
Risen 2 setzt wie auch schon der Vorgänger auf Cascaded Shadow Maps (kurz CSM). Dabei werden die dynamischen Schatten stufenweise unterteilt und jeweils unterschiedlich gut aufgelöst. In der Praxis äußert sich dies durch eine Arte Trennlinie die der Spieler vor sich her schiebt.
DetailShadowMapCount="3"
DetailShadowMapSize="2048"
DetailShadowMapSplitFactor="0.2000"
DetailShadowMapViewRange="20000.000000"
EnableDetailShadows="true"
EnableTerrainShadows="true"
TerrainShadowMapSize="2048"
TerrainShadowMapMaxDistance="200000.0"
ScreenSpaceAmbientOcclison="true"
SoftShadows="true"
-
DetailShadowMapCount = Anzahl der Shadow Map Unterteilungen. Erhöht man diesen Wert, werden die Übergänge zwischen den einzelnen Stufen weniger offensichtlich. Bei einem Wert von 5 sanken die FPS bei mir nur erstaunlich wenig von 38 auf 36.
-
DetailShadowMapSize = Schattenauflösung. Eine Verdoppelung auf 4096 kostet sehr viel Leistung, bei mir ca. 26% (38fps -> 28FPS)
-
DetailShadowMapViewRange = Reichweite der ersten CSM Stufe, also der scharfen Schatten im Vordergrund
-
DetailShadowMapSplitFactor = Dieser Faktor beschreibt das Verhältnis zwischen Schattenauflösung und Reichweite der ersten CSM Stufe. Niedrigere Werte führen dazu, dass Schatten im Vordergrund schärfer werden, die Grenze zur zweiten CSM Stufe jedoch gleichzeitig näher an den Spieler rückt. Dem Effekt kann man entgegen wirken, indem man die DetailShadowMapViewRange erhöht.
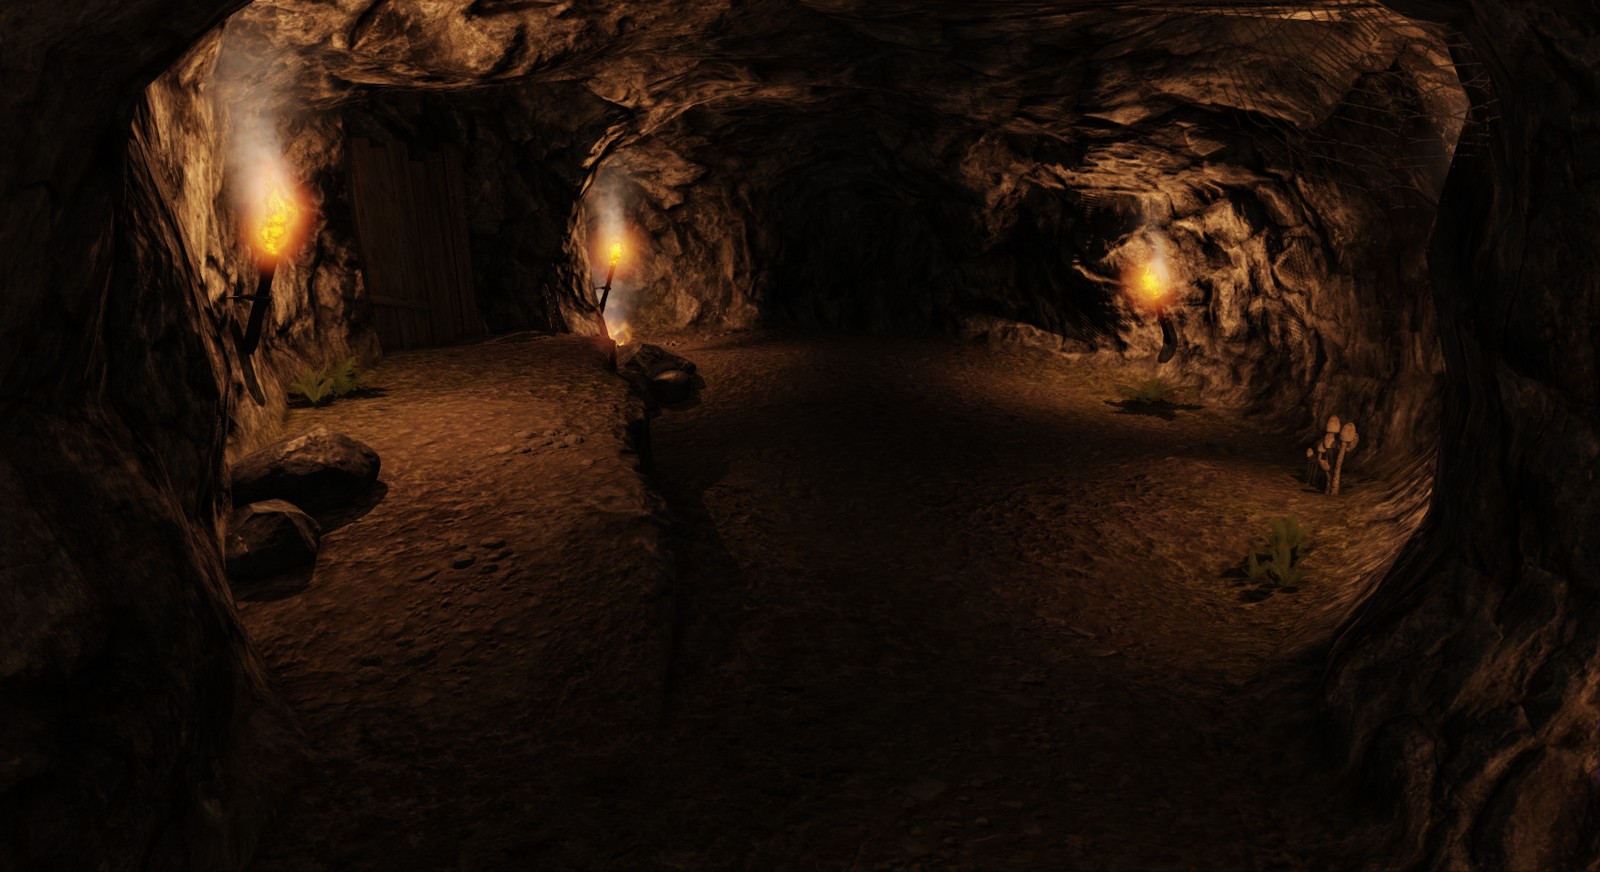
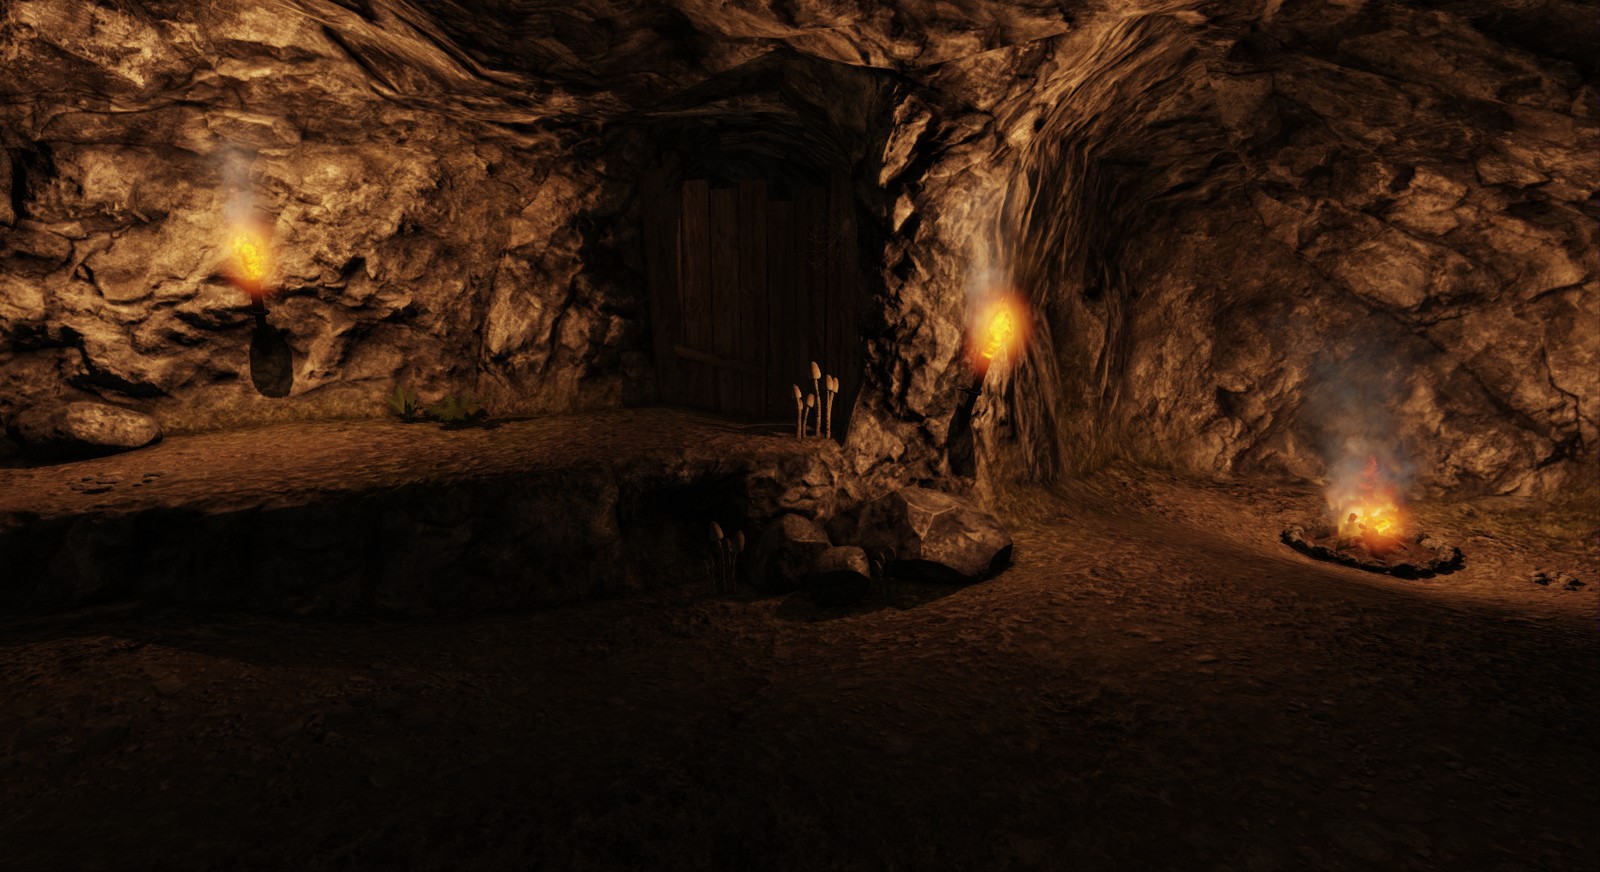
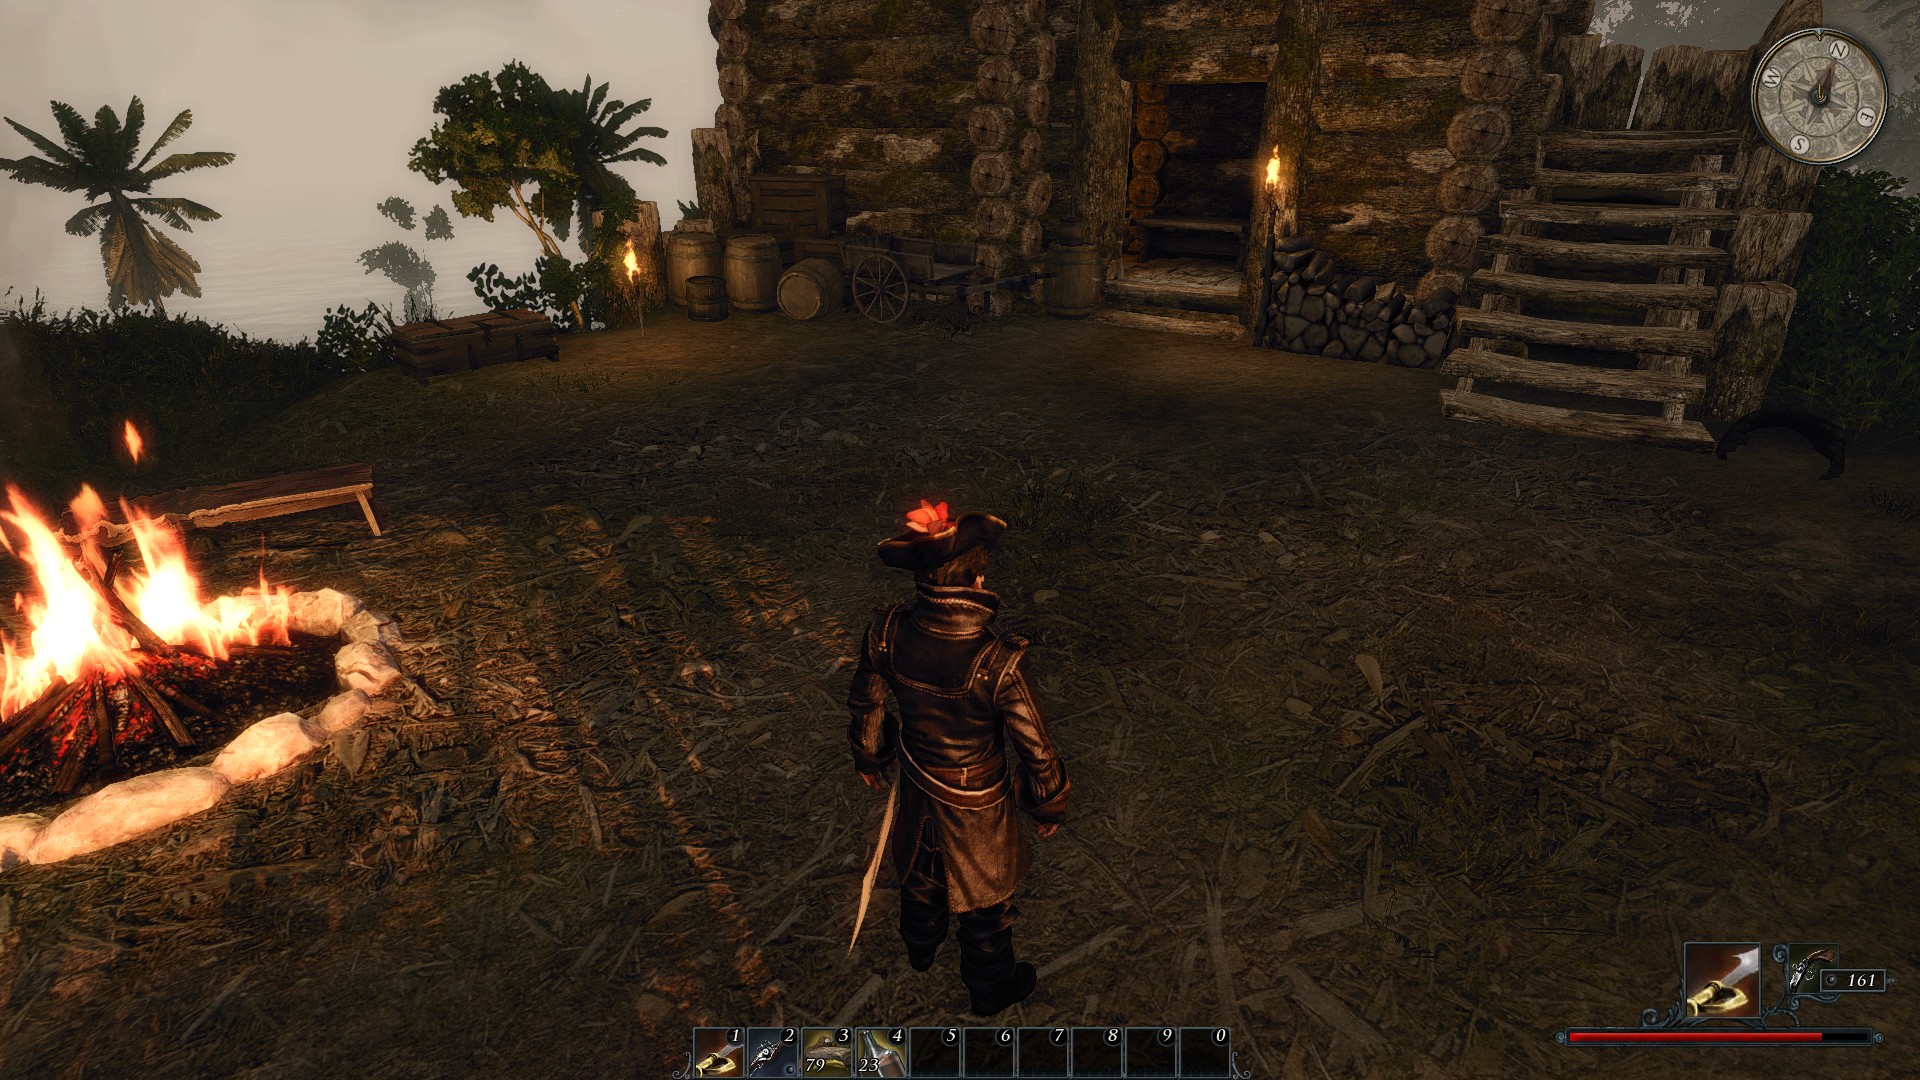
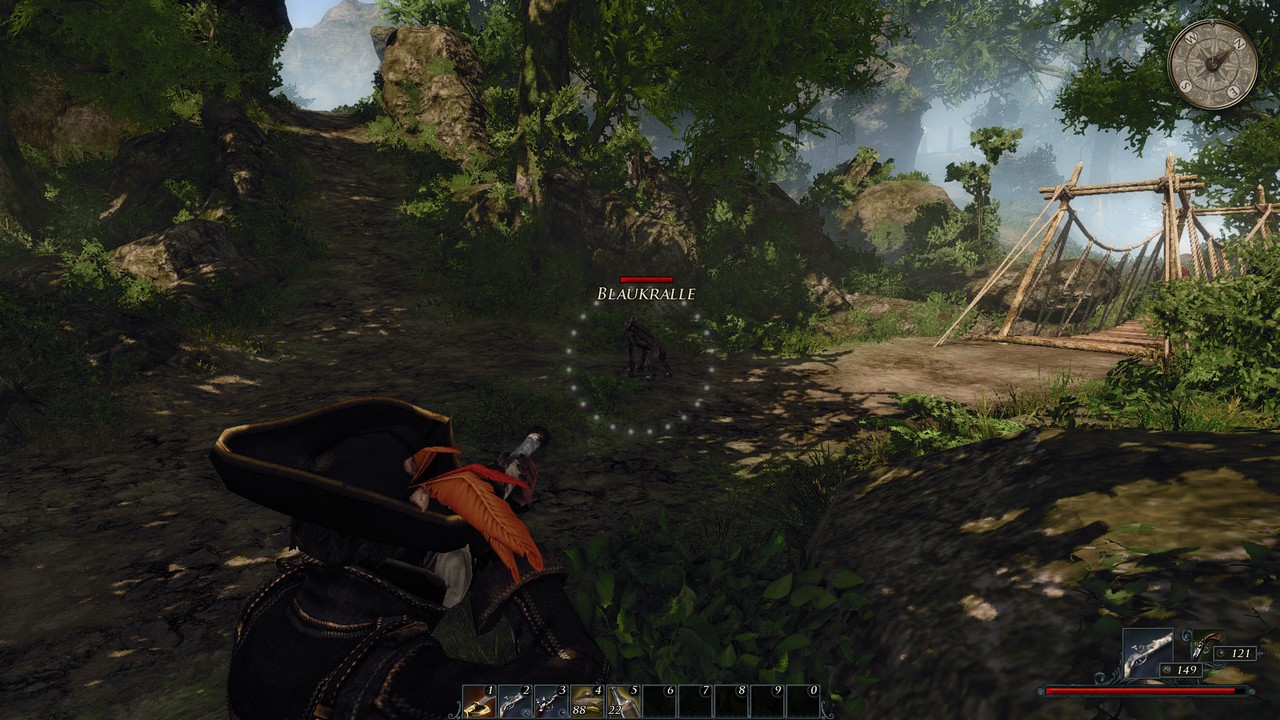
Dieser Screenshot verdeutlicht es ganz gut:
ScreenSpaceAmbientOcclison - aktiviert/deaktiviert SSAO.
Die Implementierung in Risen 2 ist nicht sehr gut und erfasst keine
kleinen Objekte.
SoftShadows - aktiviert/deaktiviert die Schattenfilterung für weiche Schattenkanten.
Diverses
Autosaves abschalten
Wer sich mit den automatischen angelegten Spielständen von Risen 2 nicht anfreunden kann oder möchte muss nur den entsprechenden Eintrag in der Config Datei von "true" auf "false" ändern.
<Game
Difficulty="1"
IgnoreUserOptions="false"
MenuDisabled="false"
PlayerStart="SP_Gamestart"
RetroQuestMessageSystem="false"
TutorialDisabled="false"
AutoSave="true"
Speicherplatz sparen
Risen 2 belegt bei einer Standardinstallation 7,6 GB auf der Festplatte. Dabei werden unnötigerweise die Sprachpakete für englisch, russisch und polnisch mitinstalliert. Wer sowieso nur die deutsche Spachausgabe benötigt kann die Dateien dialogue_english/polish/russian.pak aus dem Ordner \risen2\data\compiled löschen. Diese machen zusammen ganze 3,5 GB aus.
Introvideos
Um die Introvideos beim Start von Risen 2 zu überspringen reicht es aus die Dateien logo_ds.vid und logo_pb.vid beliebig umzubennen. Diese sind im Ordner \risen2\data\extern\videos zu finden.
Maussensibilität
Risen 2 hat standardgemäß auf der X- und Y-Achse eine deutlich unterschiedliche Maussensibilität, was dazu führt, dass eine Drehung nach rechts oder links wesentlich schneller erfolgt als ein Blick nach oben oder unten. Der zugehörige Eintrag in der Config Datei sollte von 1.0 auf einen Wert zwischen 0.25 und 0.5 gesenkt werden um die Mausbewegung einigermaßen ausgeglichen umzusetzen, bei mir sind es derzeit 0.33.
<Mouse
ForceNumLockDisabled="true"
SensitivityX="1.0f"
SensitivityY="1.0f"
InvertY="false"
InvertYMiniGames="false"
</Mouse>
Tageslänge beeinflussen
Über den Sonnen- und Mond-Winkel im Abschnitt Weather ist es möglich
deren Verlauf zu verändern. Höhe Werte (z.B. 45) bedeuten hier, dass die
Sonne sowohl früher auf- als auch später untergeht. Ideal für
Nichtschläfer die nicht so lange im dunkeln herumlaufen wollen.
MoonAngle="30.000000"
SunAngle="30.000000"
Multi-Monitor Betrieb
Werden mehrere Monitore benutzt wird Risen 2 normalerweise auf dem
Ersten laufen. Um einen Monitor anzusteuern muss die AdapterNumber
erhöht werden. Die Zählung beginnt bei 0 (= Monitor Nr. 1).
AdapterNumber="0"
Es ist möglich, dass die Änderung der Config Datei keine Änderung bewirkt. In dem Fall sind die entsprechenden Einträge auch in der Datei ConfigUser.xml (C:\Benutzer\Name\AppData\Local\Risen2\Config\) zu finden, welche eine höhere Priorität besitzt als die ConfigDefault.xml
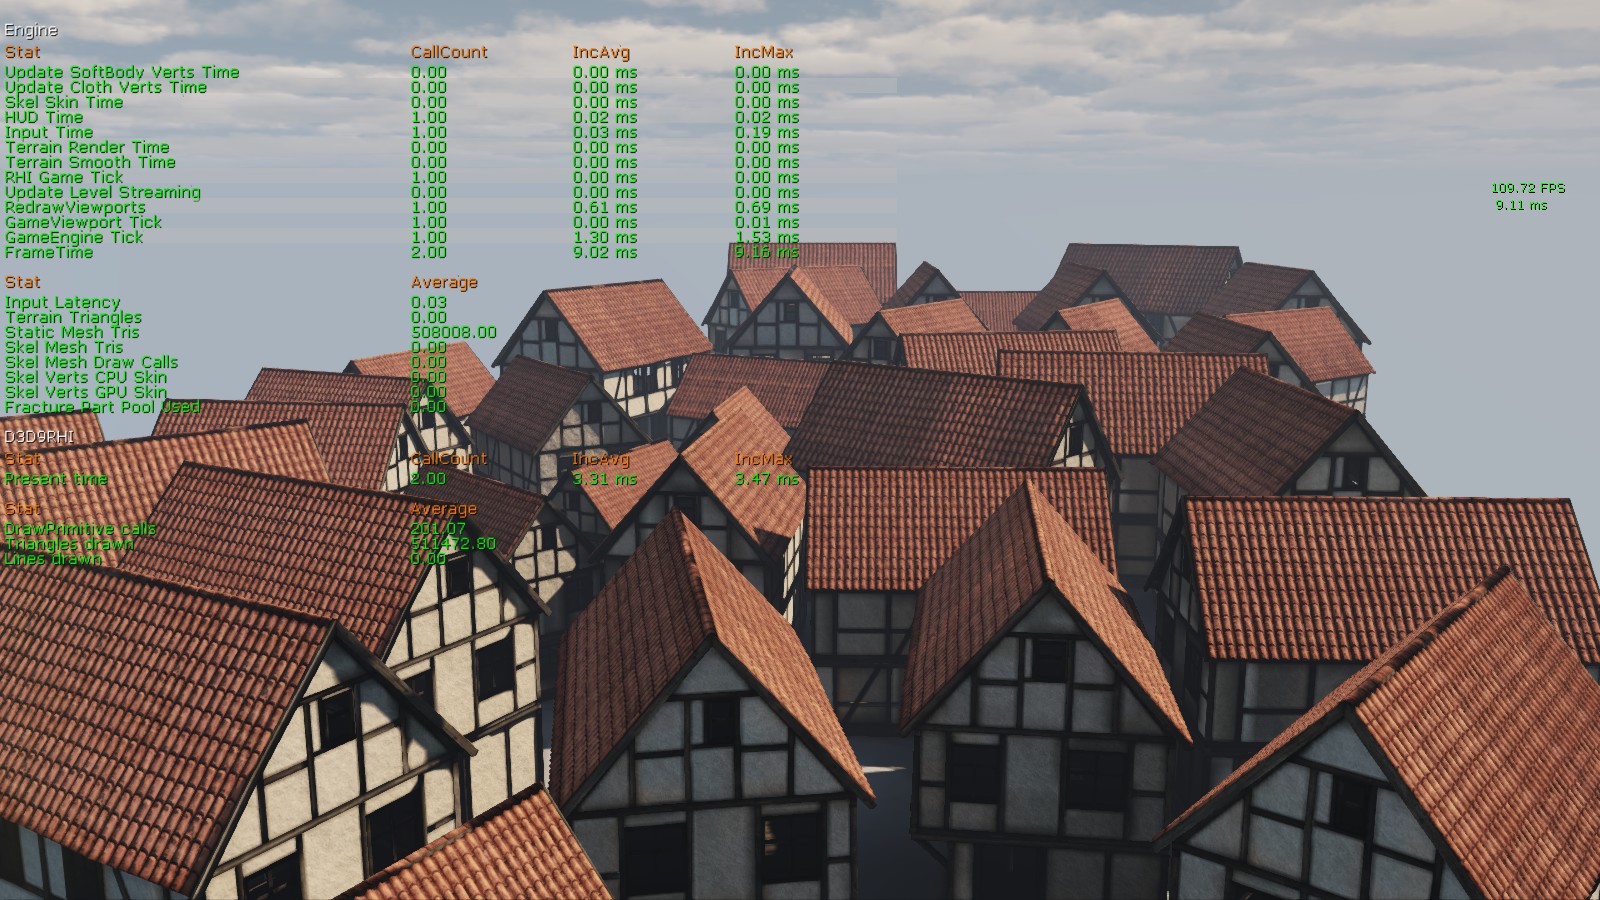
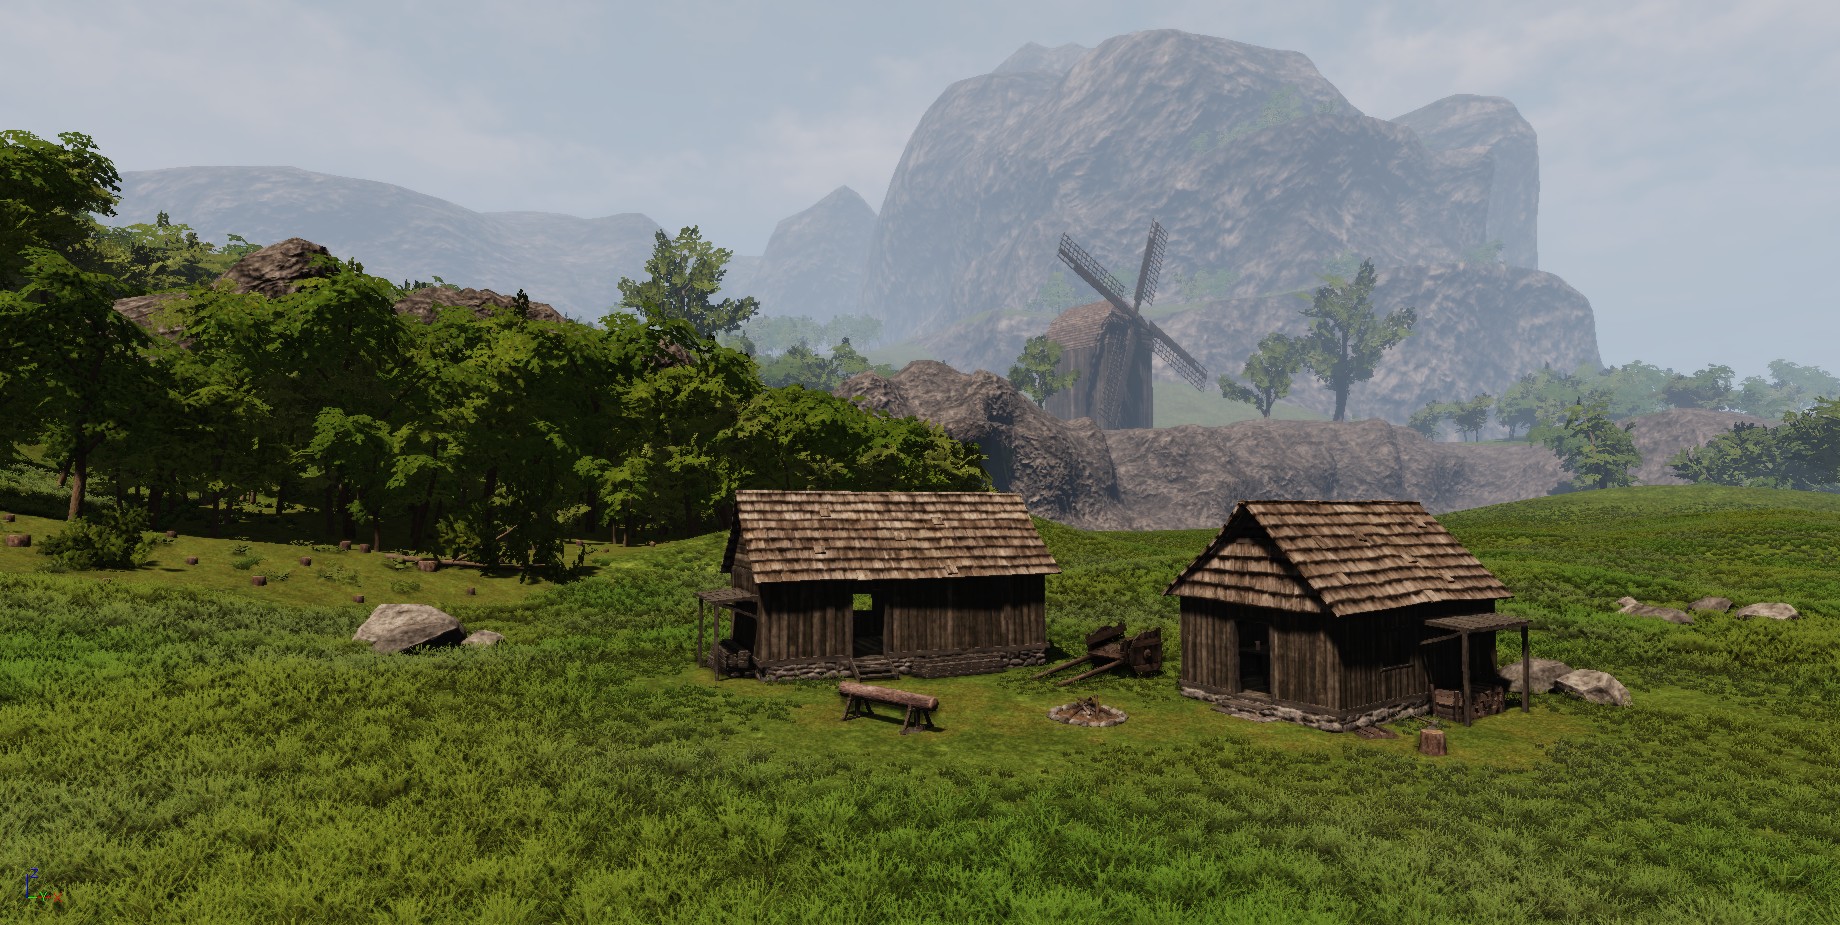
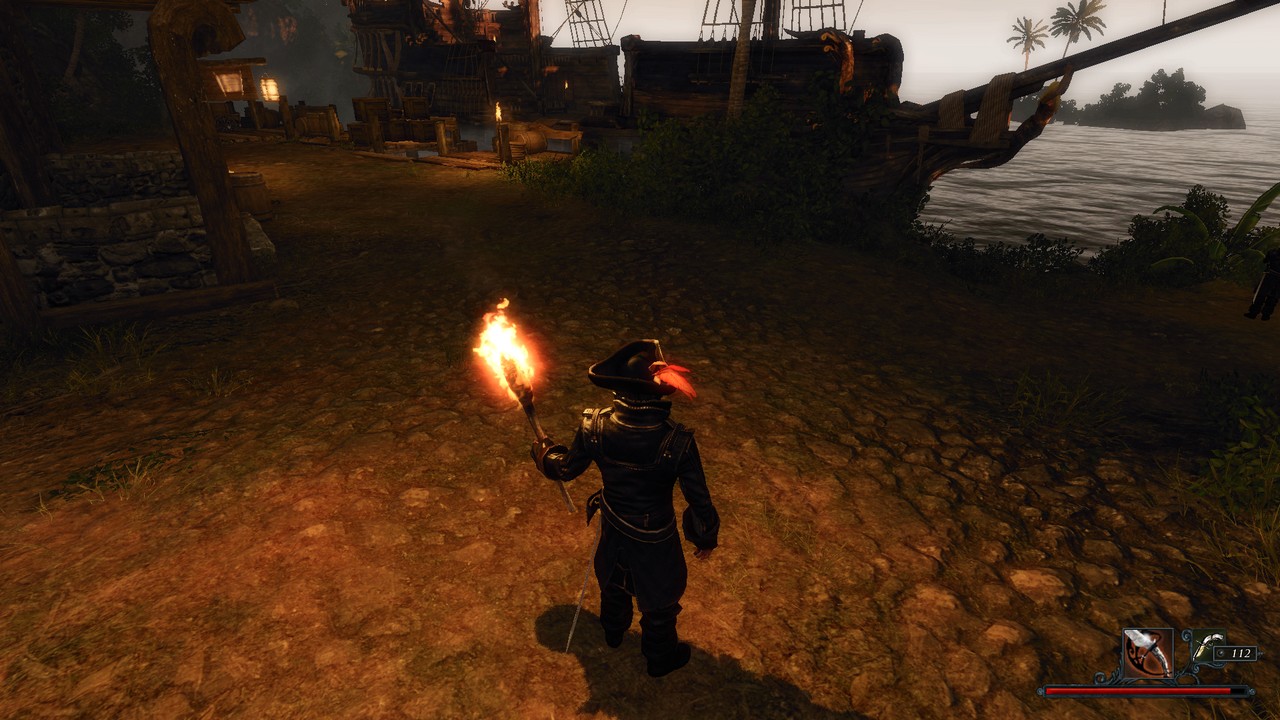
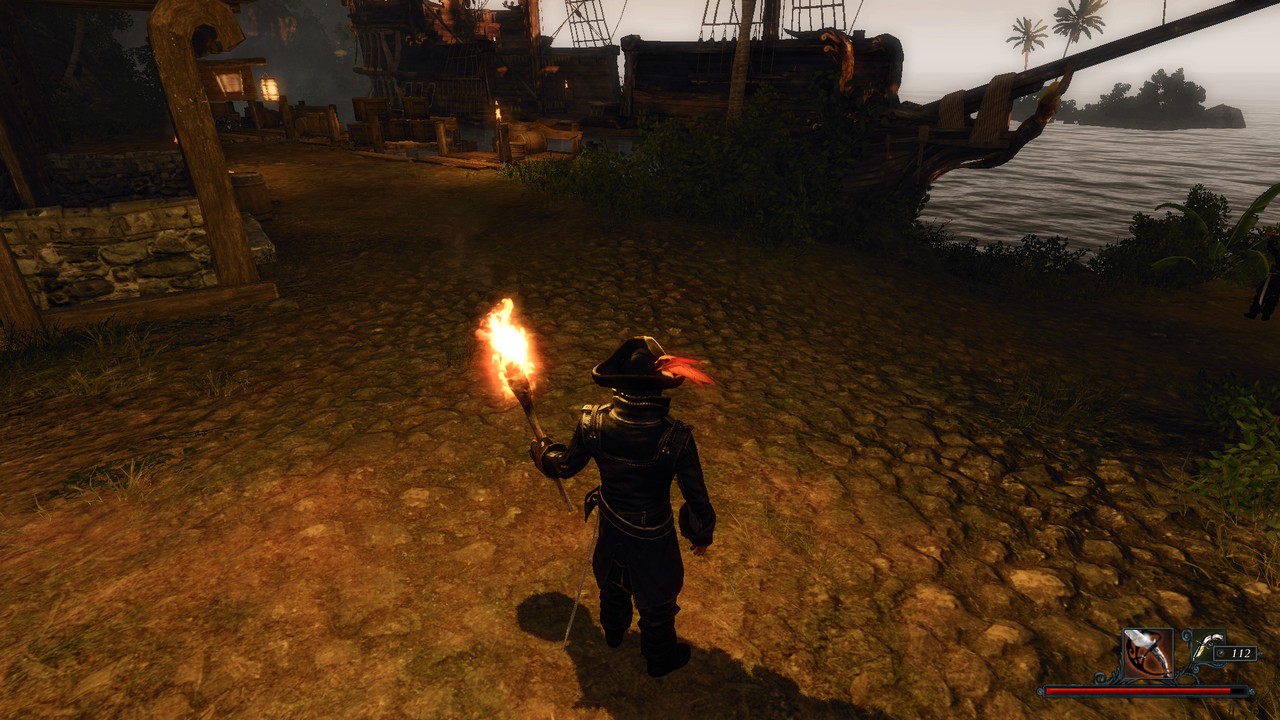
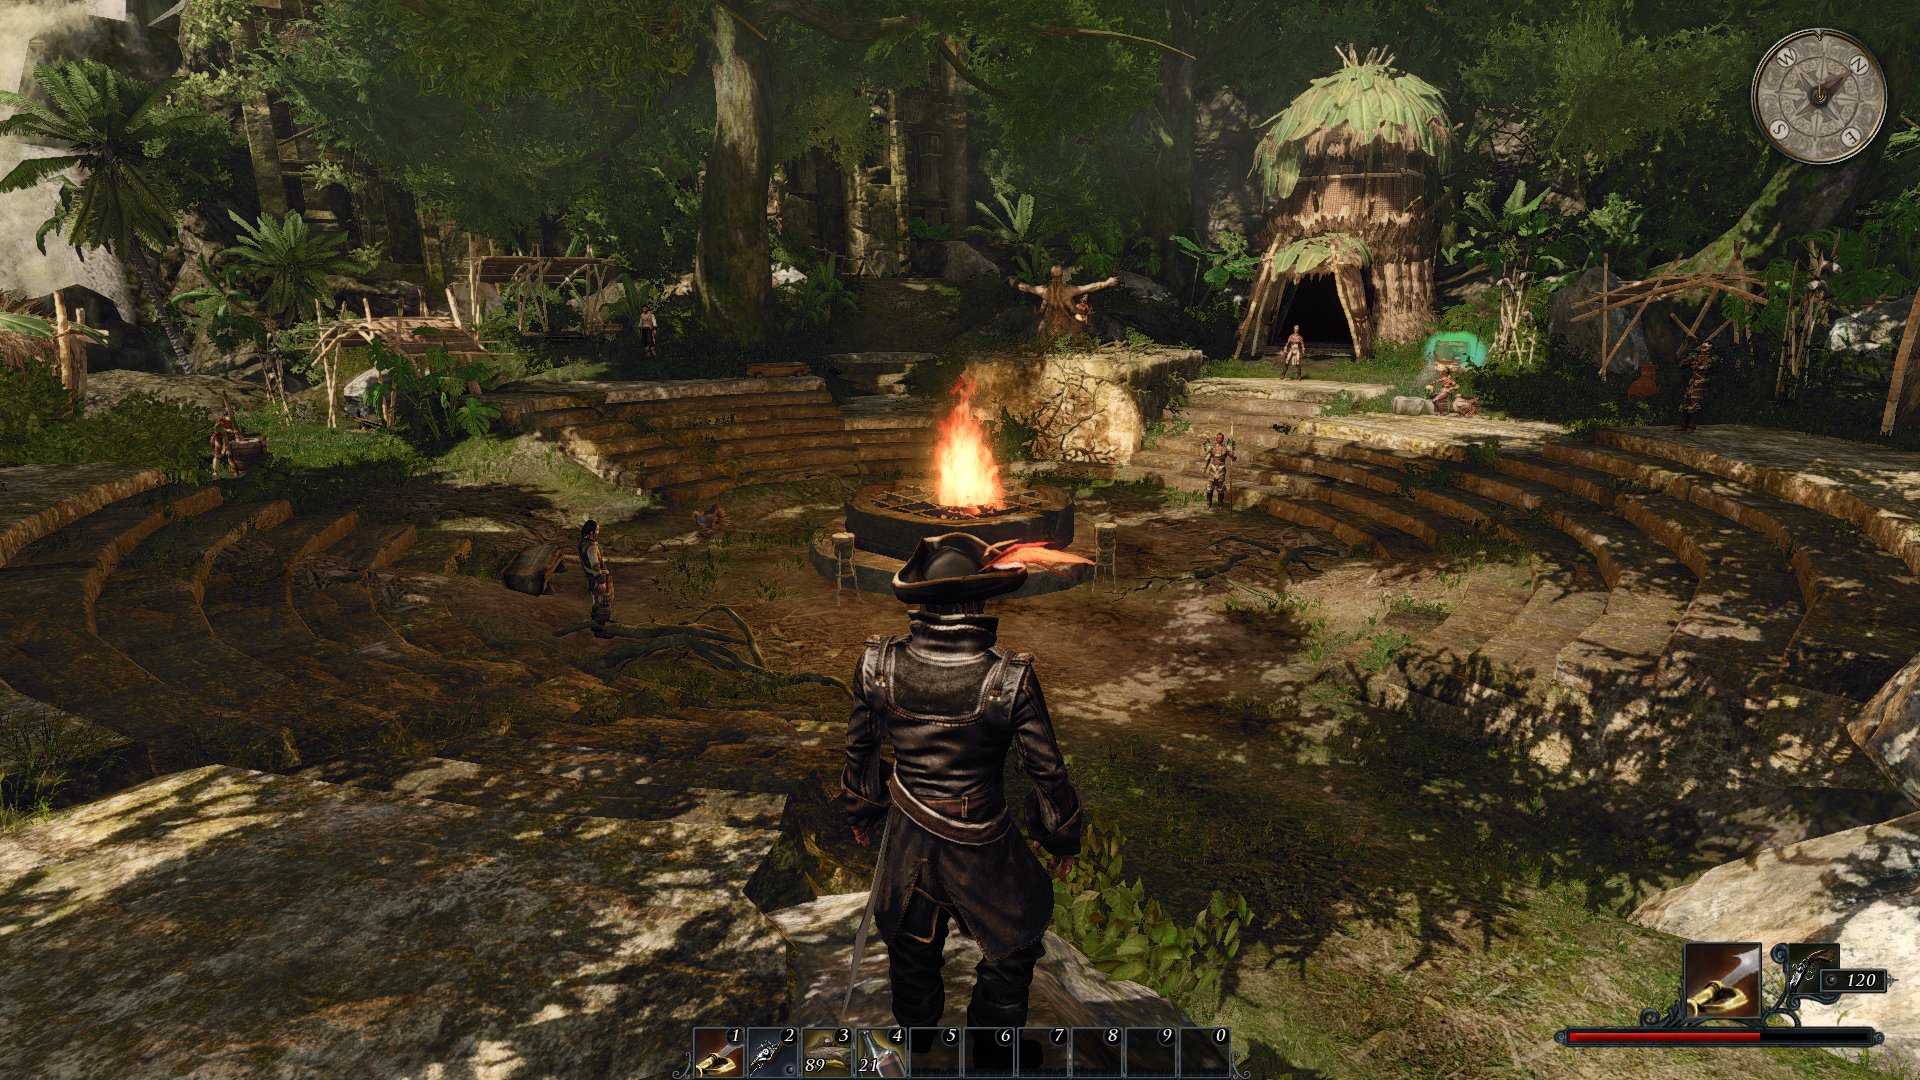
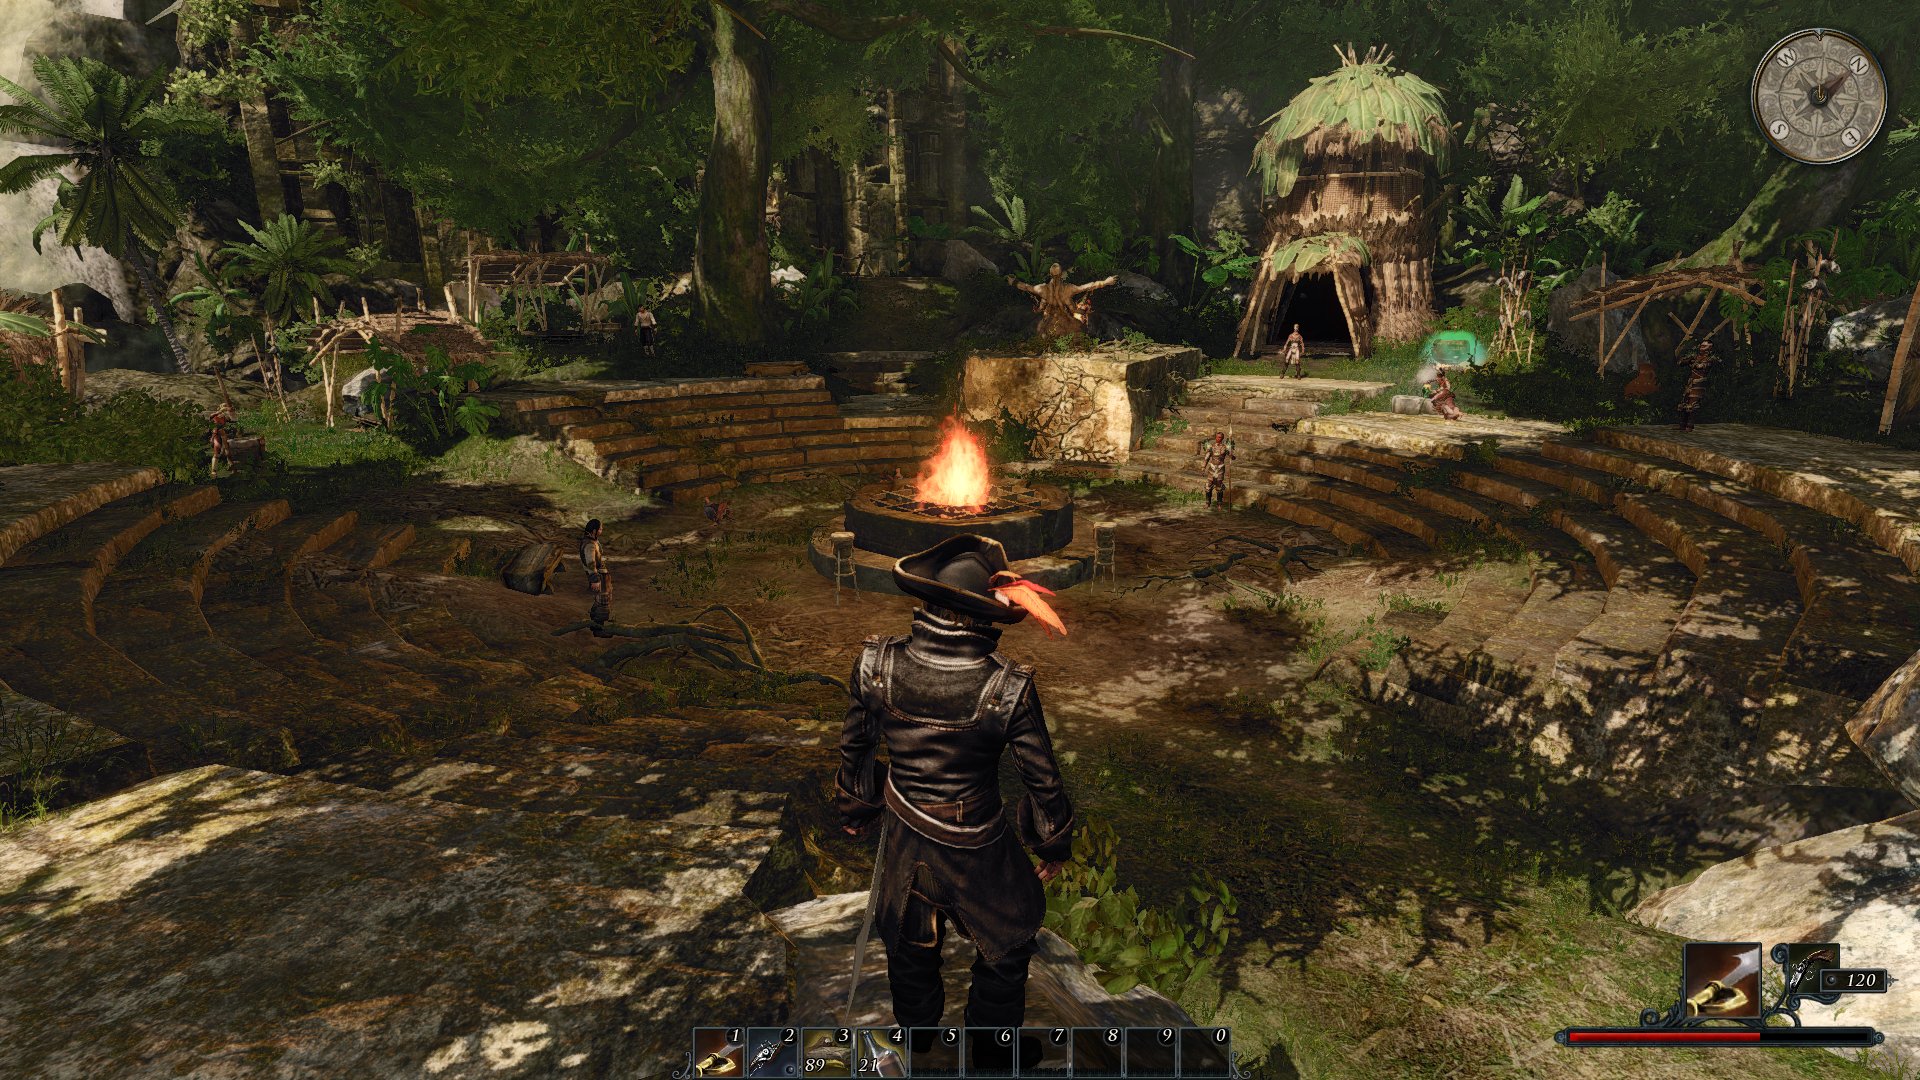
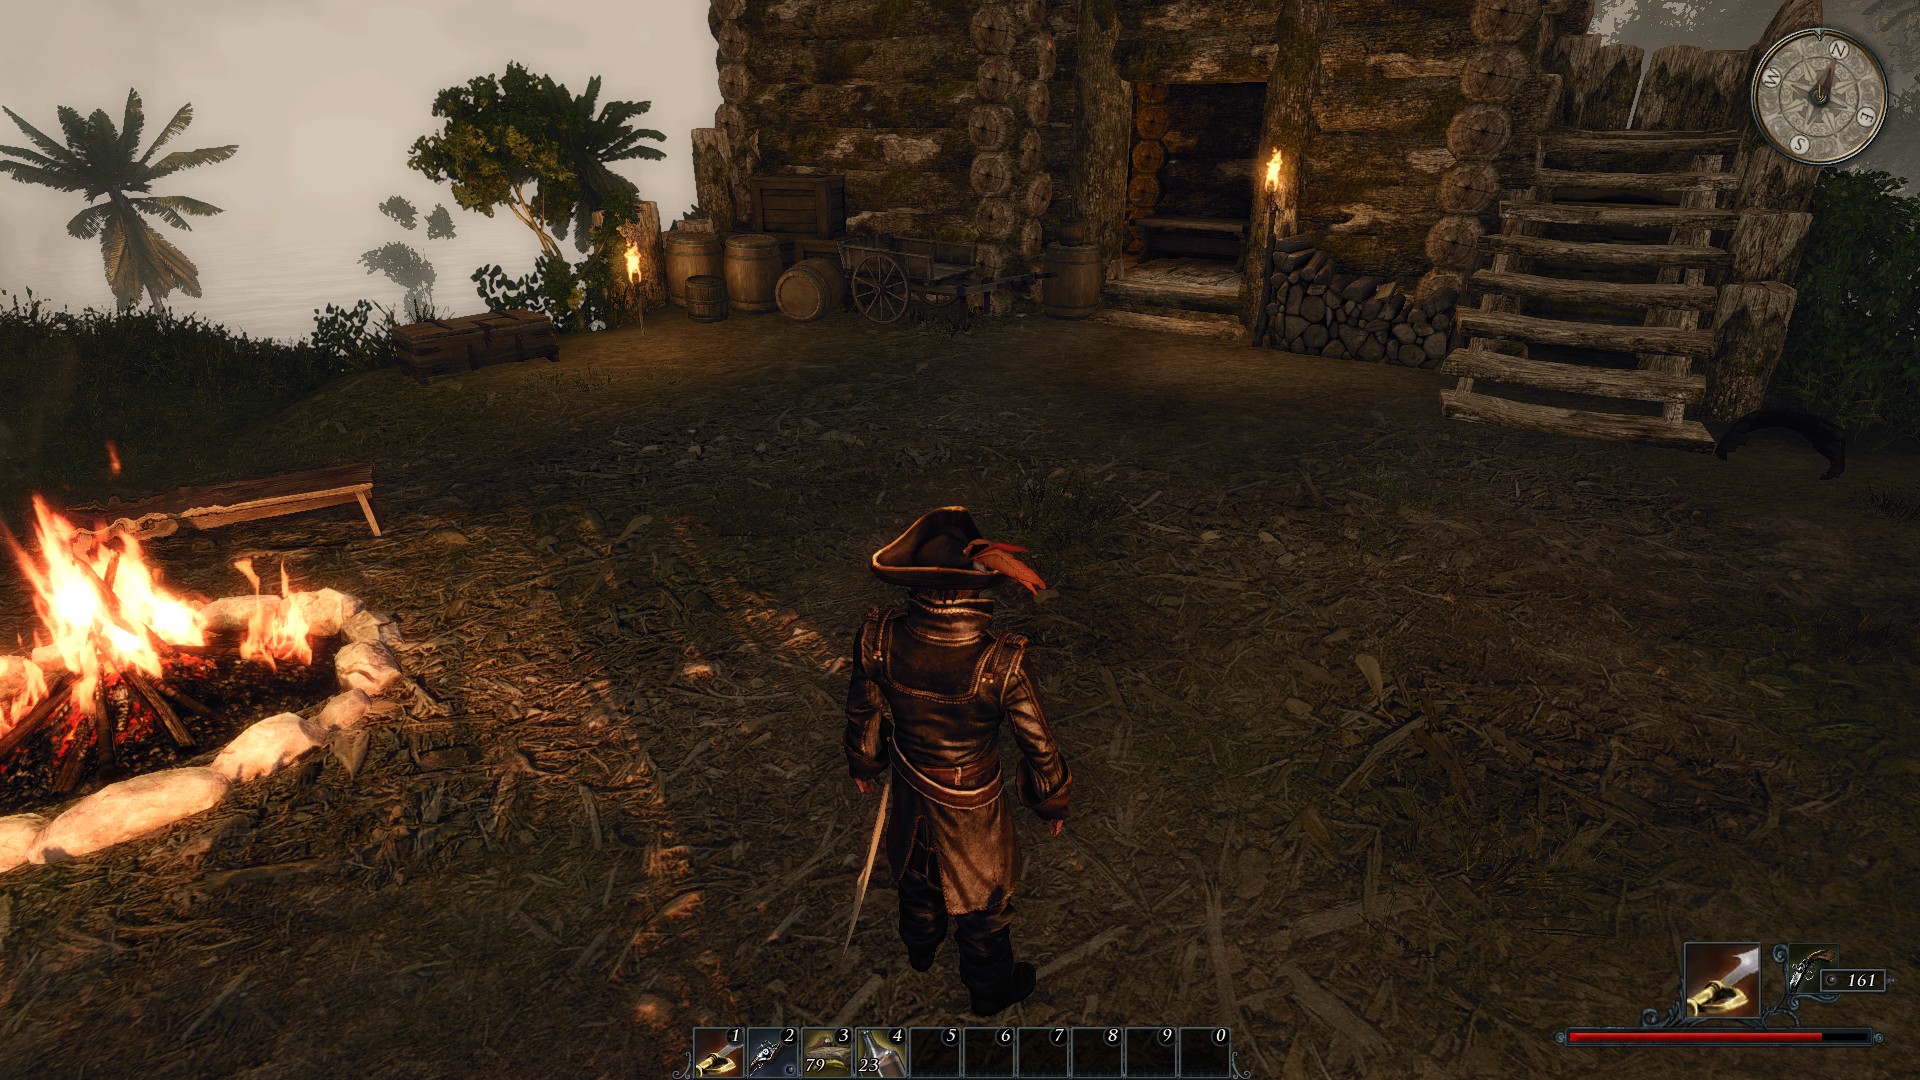
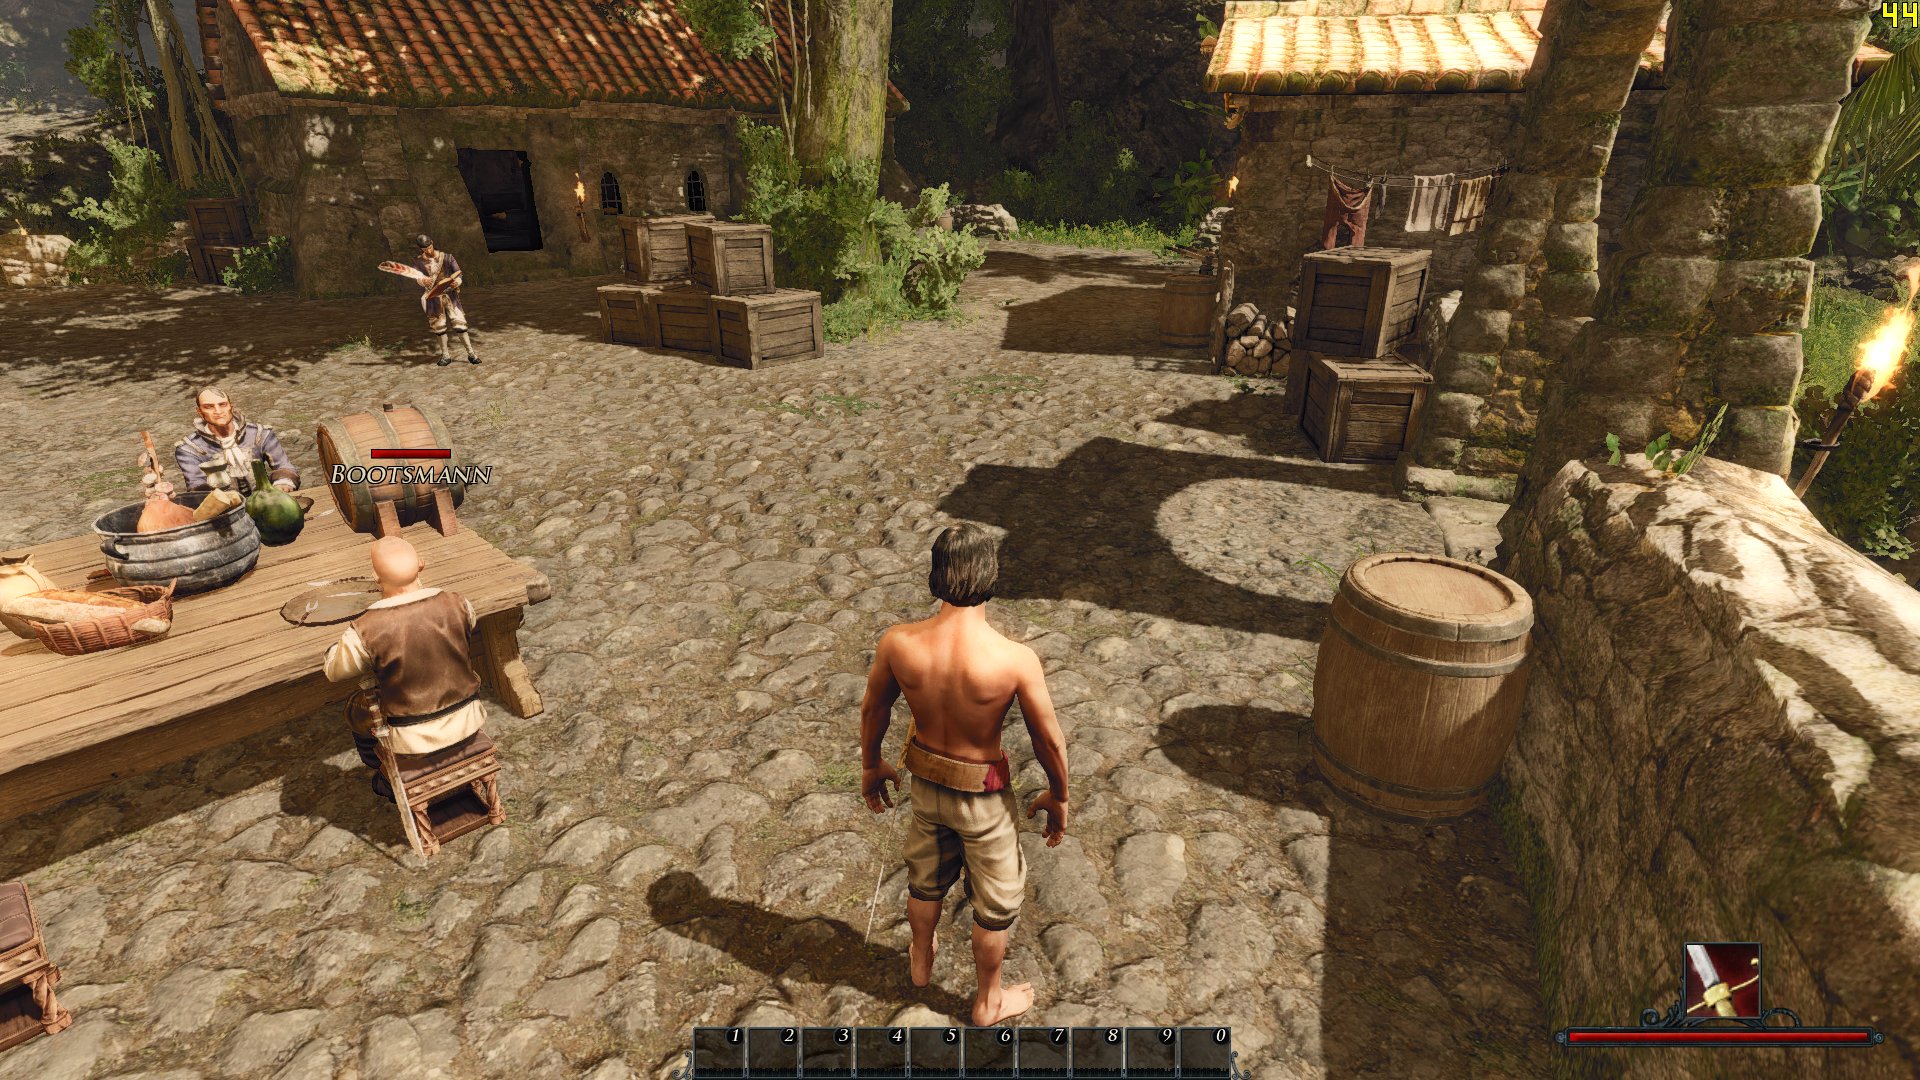
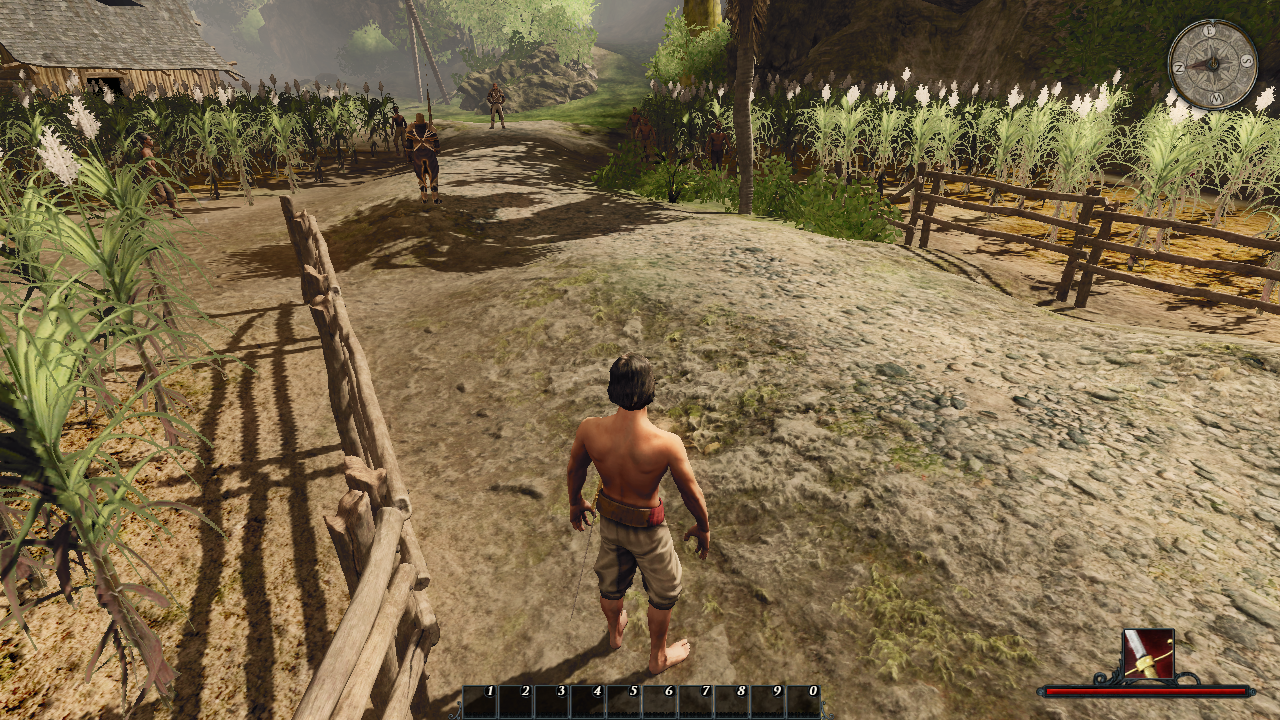
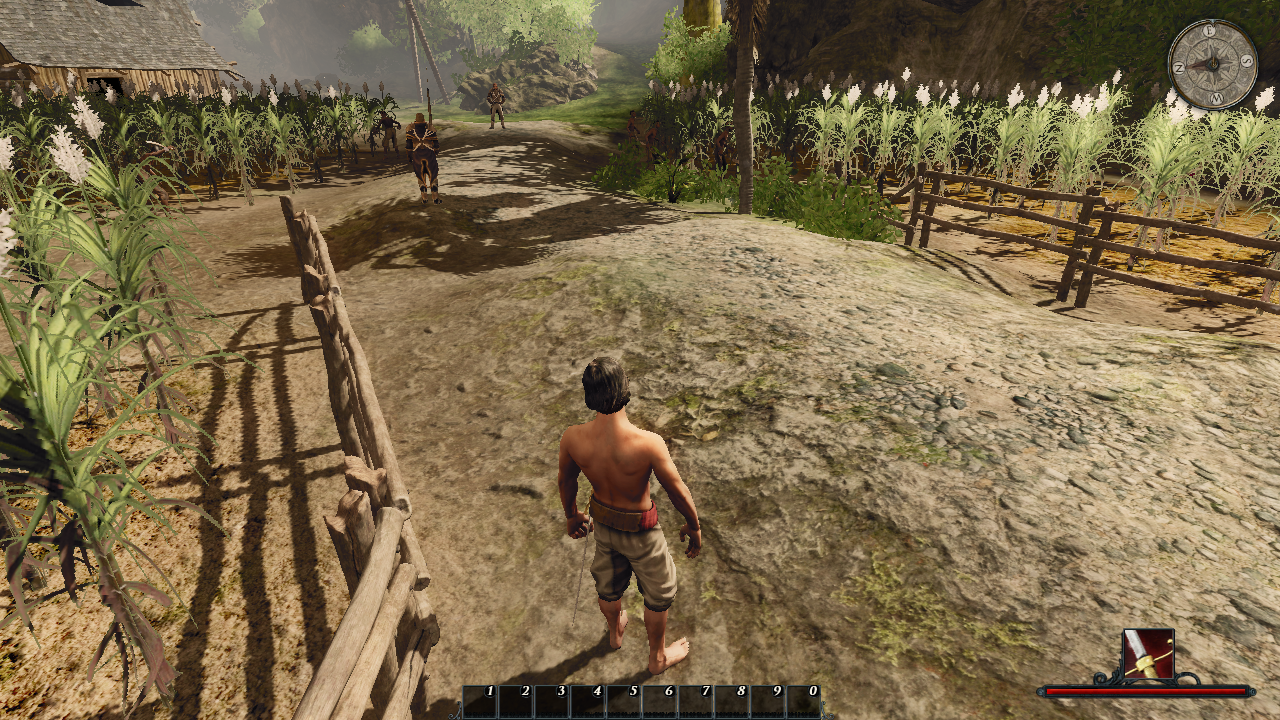
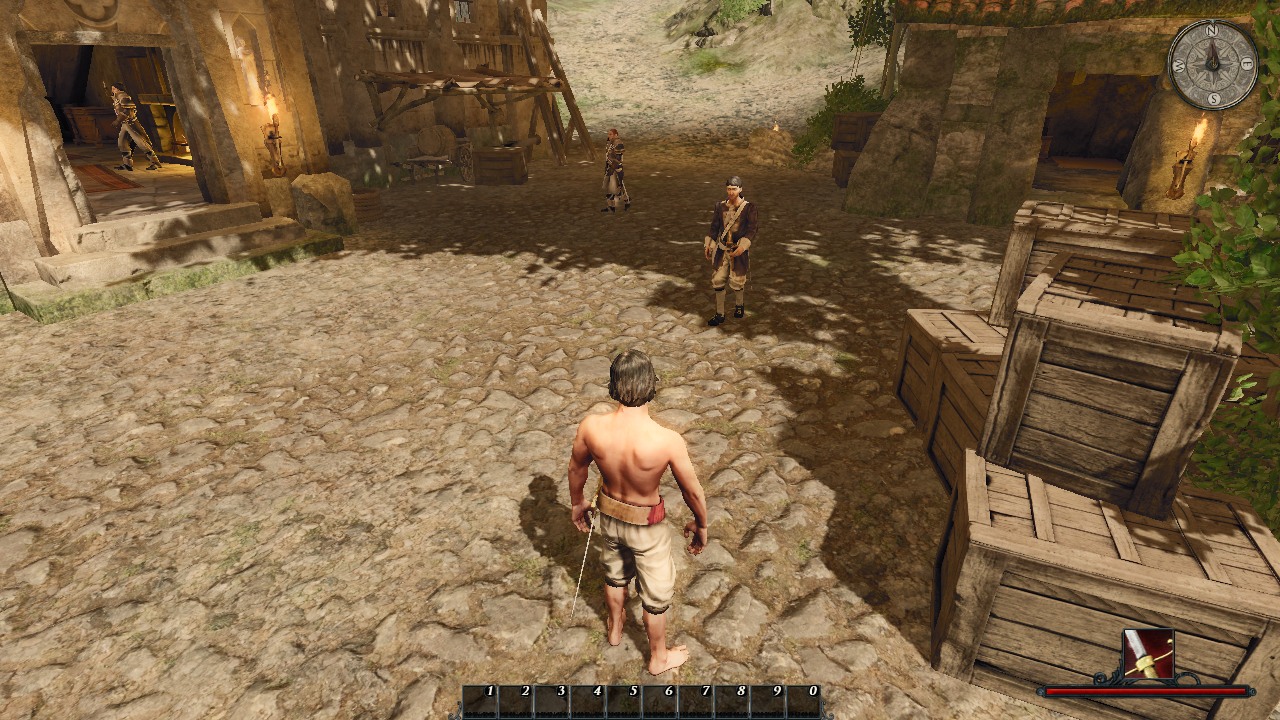
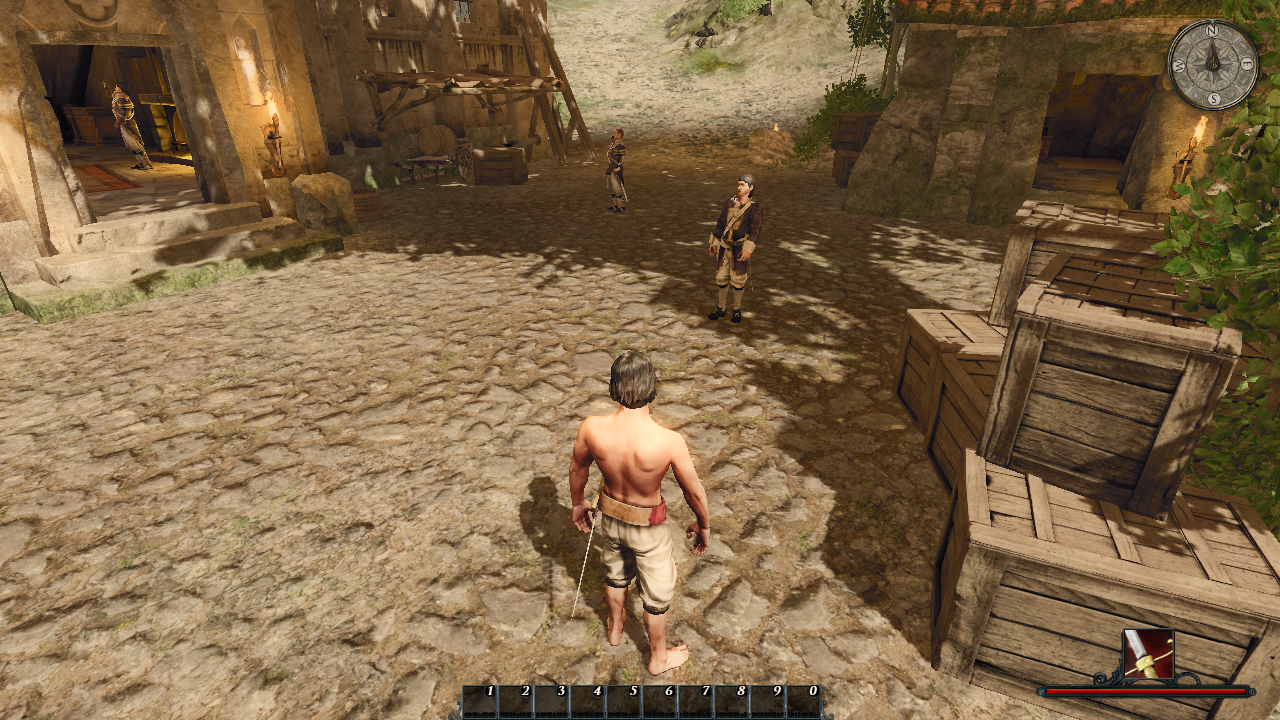
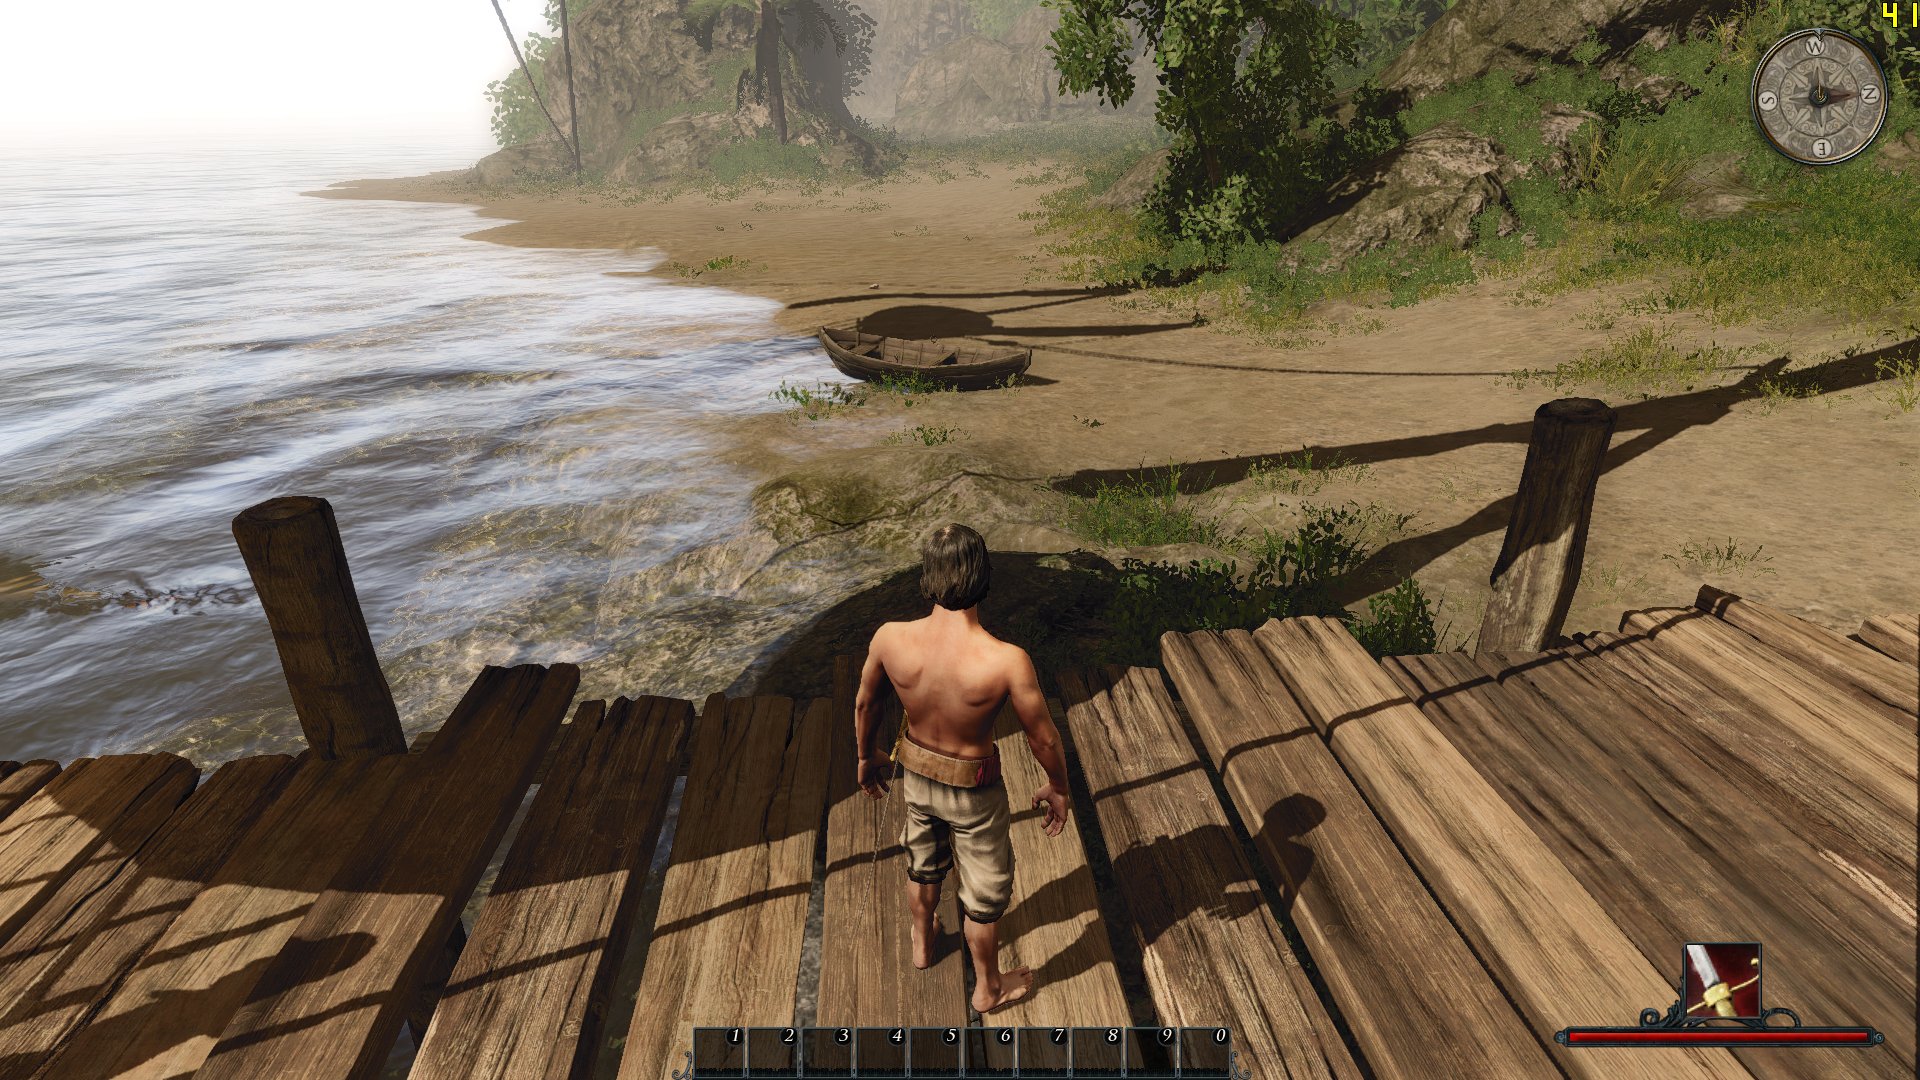
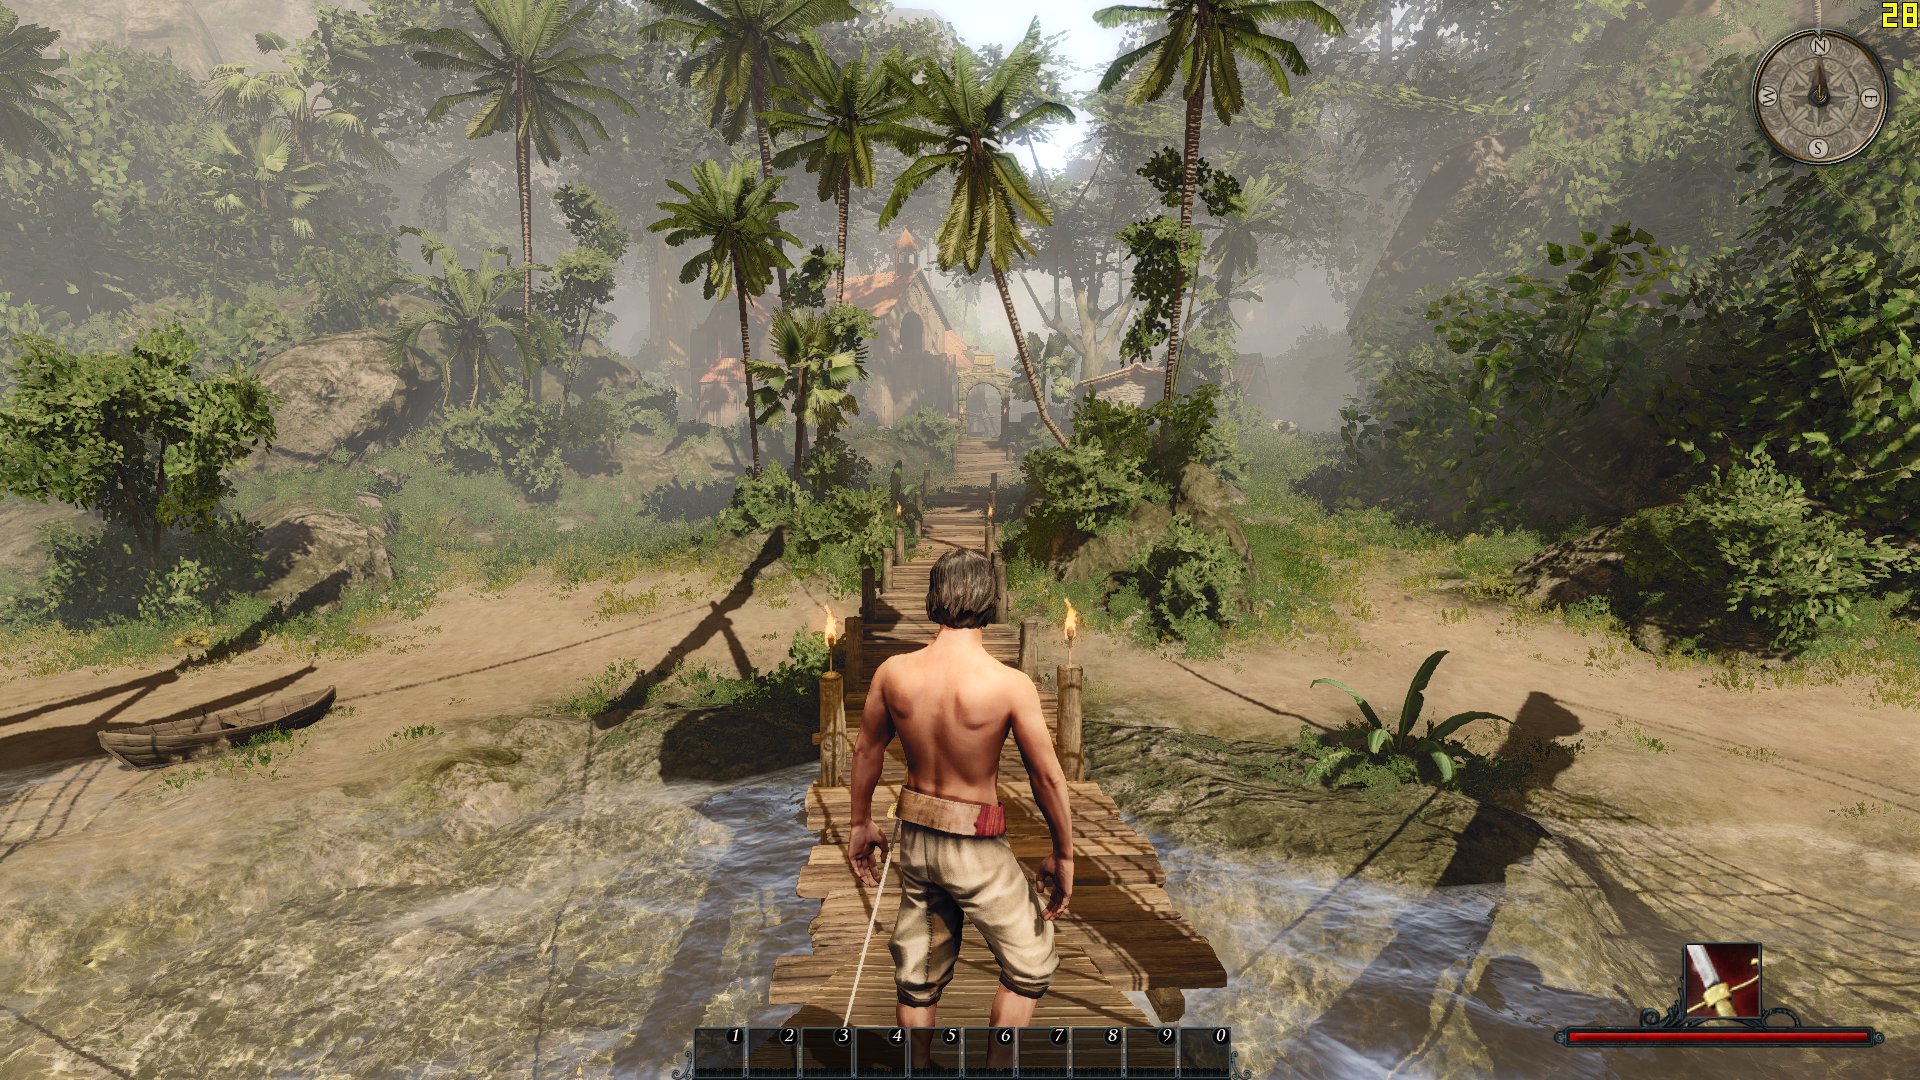
Abschließend gibt es noch ein paar Vergleichsbilder mit den maximalen in-game Grafikeinstellungen (links) und mit per Config Datei erhöhten Details (rechts), inklusive FPS Anzeige.


