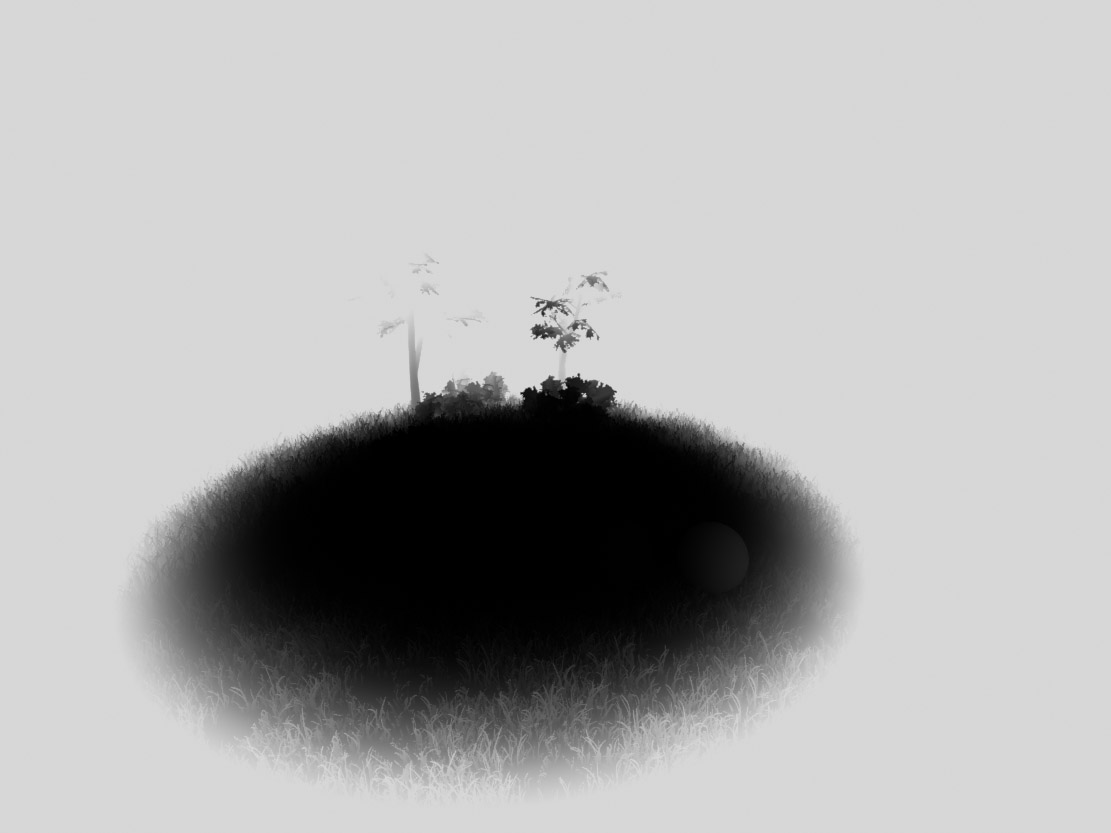
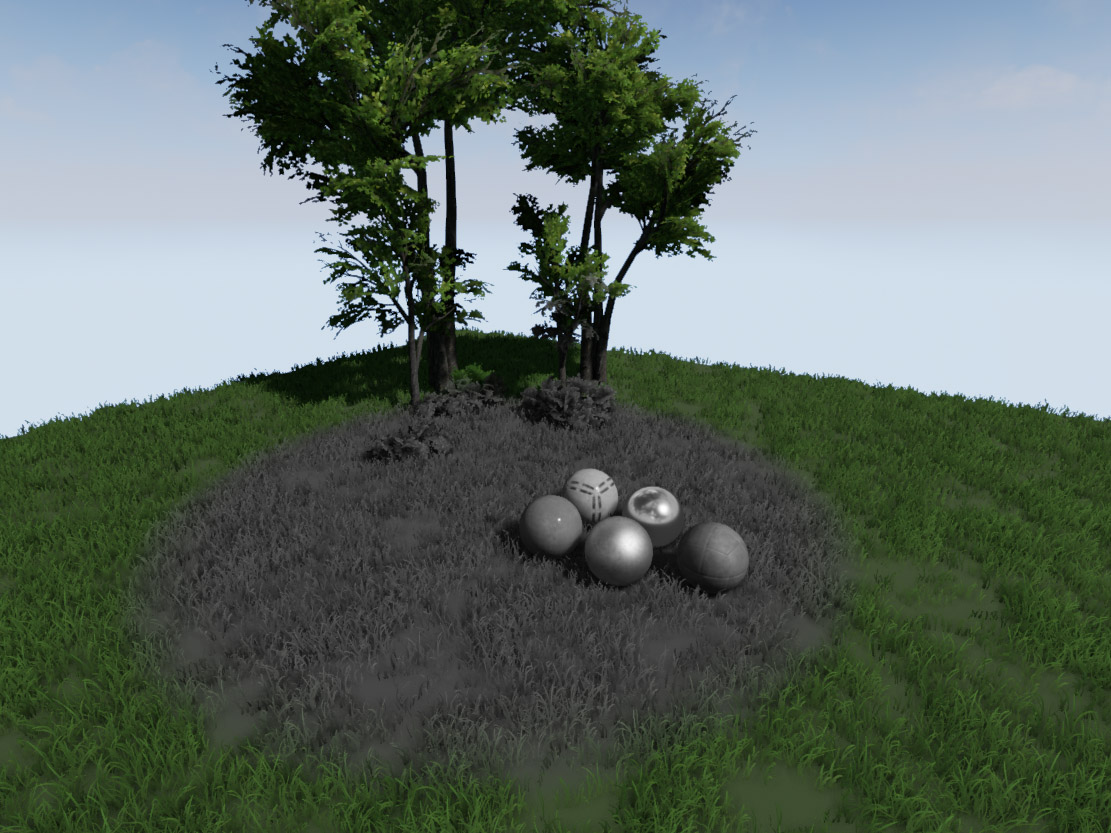
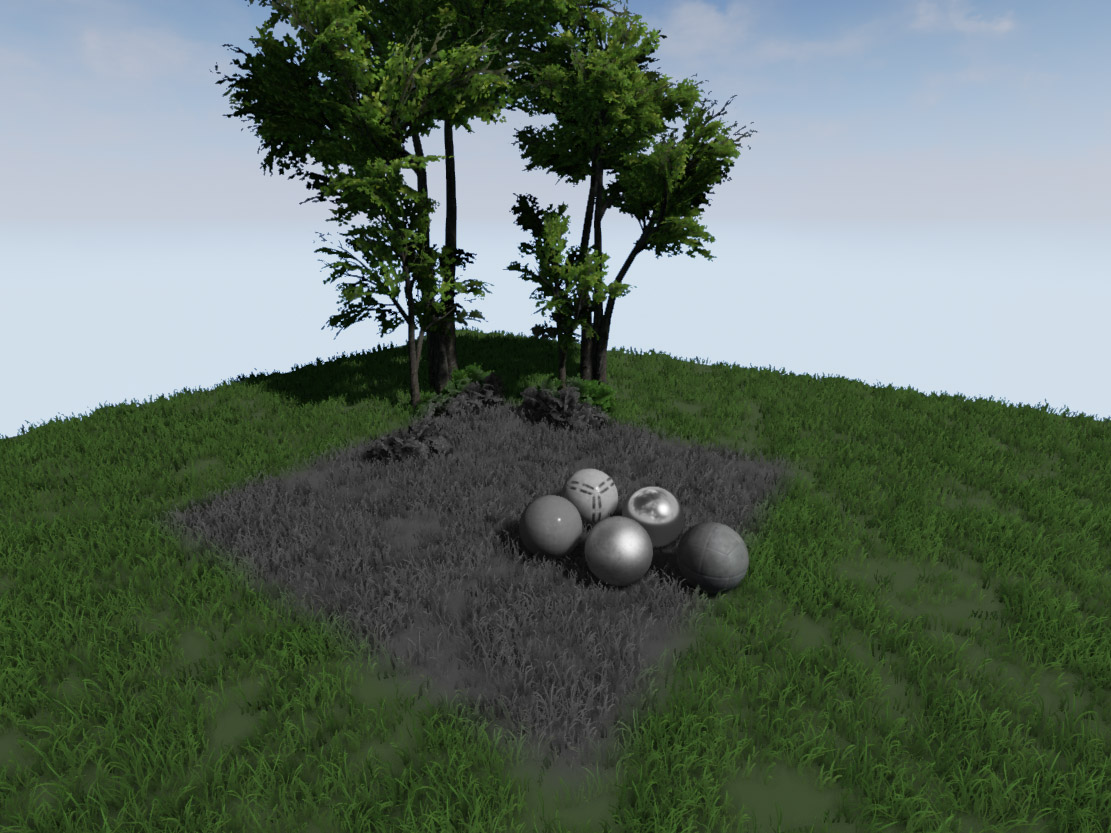
One of the new features of UE4 (in comparison to UE3) is that you can access the world position of a pixel via post processing. I just realized that this makes it possible to limit post process effects to a specific areas of a level. Still you can see the effect from far away, which means the camera/player won't need to actually enter this specific area - obviously that's the main advantage over a separate post process volume.
For this tutorial I decided to describe 2 types of these "volumes" in a volume, spheres and boxes. The material graphs shown output a greyscale image which you can use to Lerp between the original scene color and a post process effect of your choice. In my example that's a simple scene desaturation.
Sphere
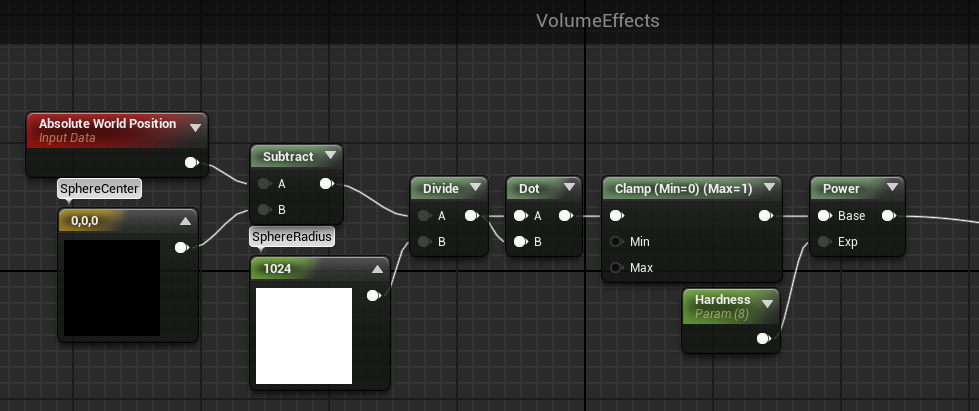
This is the material for a sphere shape. using 3 parameters to define the sphere position, size(radius) and transition hardness.
Box
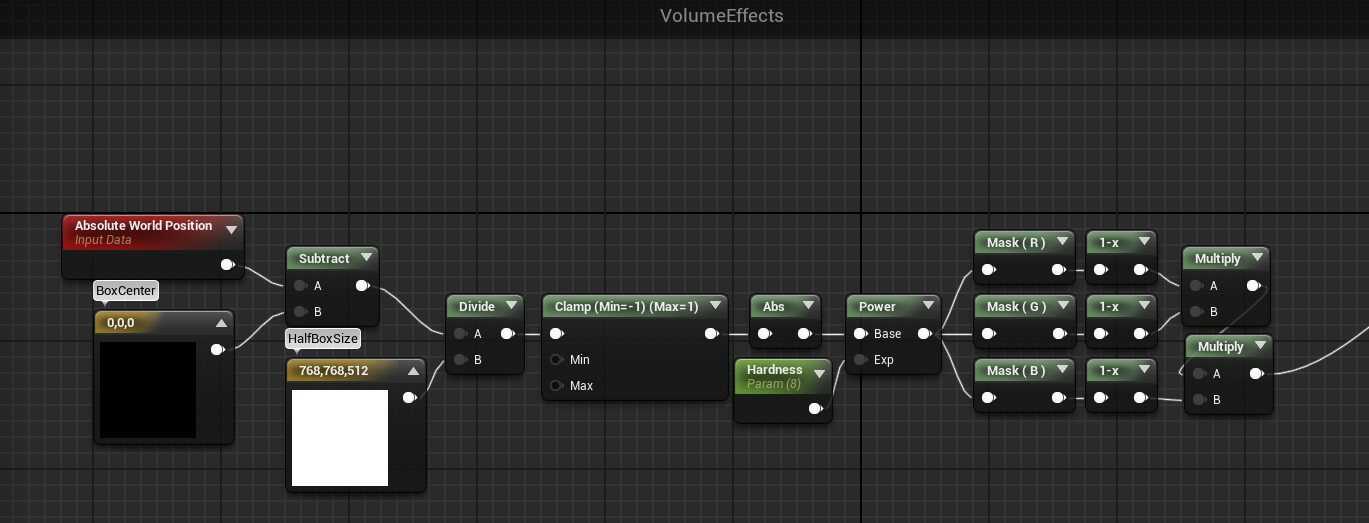
For a box shape there are 2 different ways of setting up the material. The first one is similar to the sphere setup, defining the box shape by a center point and the (half) length of all 3 sides.
The second one defines the box by 2 opposing corner points. Think of these as the lower, front, left and the upper, rear, right vertices of a box. Please note that the softness parameter needs to be a pretty large value to take any effect, e.g. 2^16.
Setup #1
Setup #2
Sunday, August 3, 2014
Friday, August 1, 2014
[UE3/UE4] Landscape Grass Blending
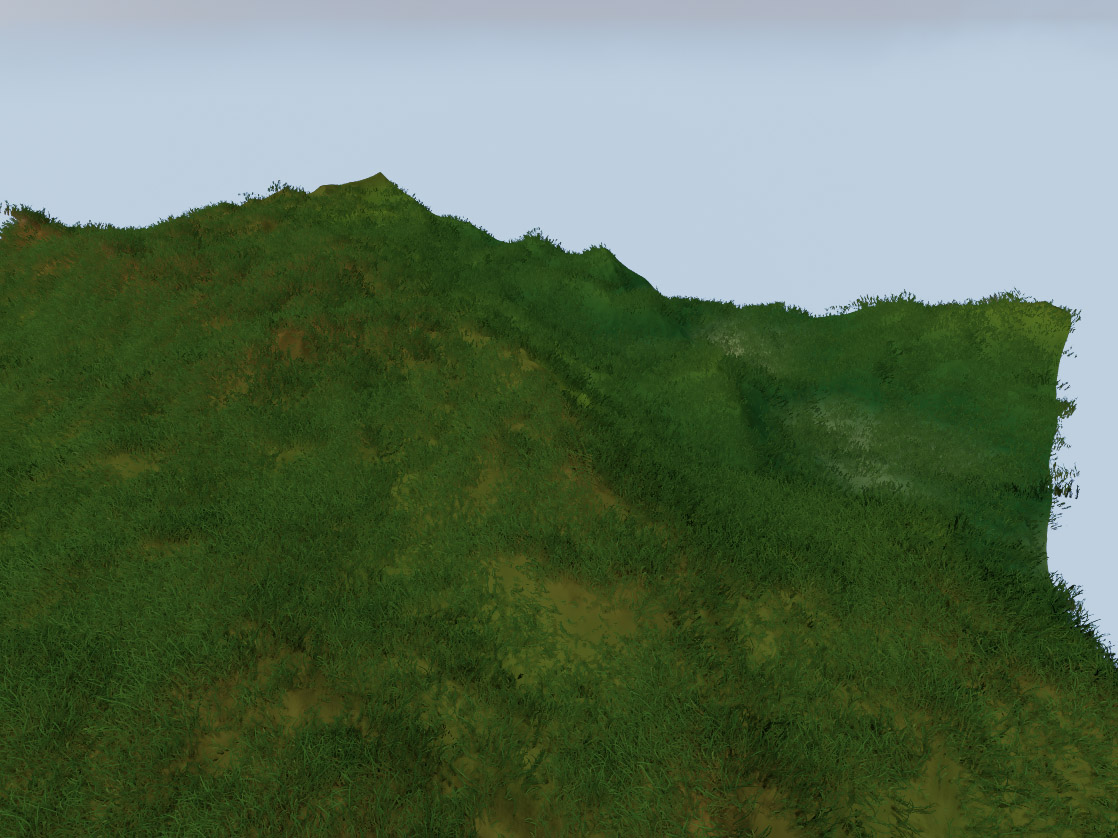
Authoring grass and landscape textures to blend nicely can be pretty tough at times. This is where automated methods come in handy.
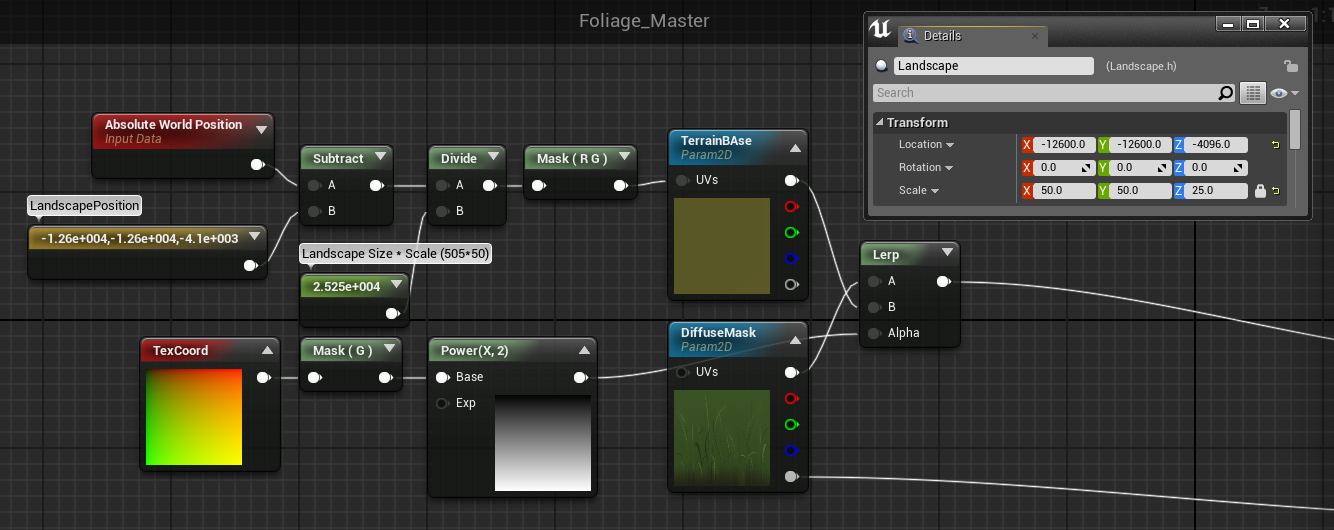
For the following material to work you'll need some kind of a terrain base color texture which is then being sampled in the grass material. The most important part is to make it match the actual landscape size, scale and location.
Once this is done you might find various ways to alter the grass color based on the underlying terrain. In this example I'm using a simple vertical gradient to blend between both textures.
Material
Comparison
Regular Grass Material
Terrain Blending Grass Material
For the following material to work you'll need some kind of a terrain base color texture which is then being sampled in the grass material. The most important part is to make it match the actual landscape size, scale and location.
Once this is done you might find various ways to alter the grass color based on the underlying terrain. In this example I'm using a simple vertical gradient to blend between both textures.
Material
Comparison
Regular Grass Material
Terrain Blending Grass Material
[UE3/UE4] Generate Cavity from Normals
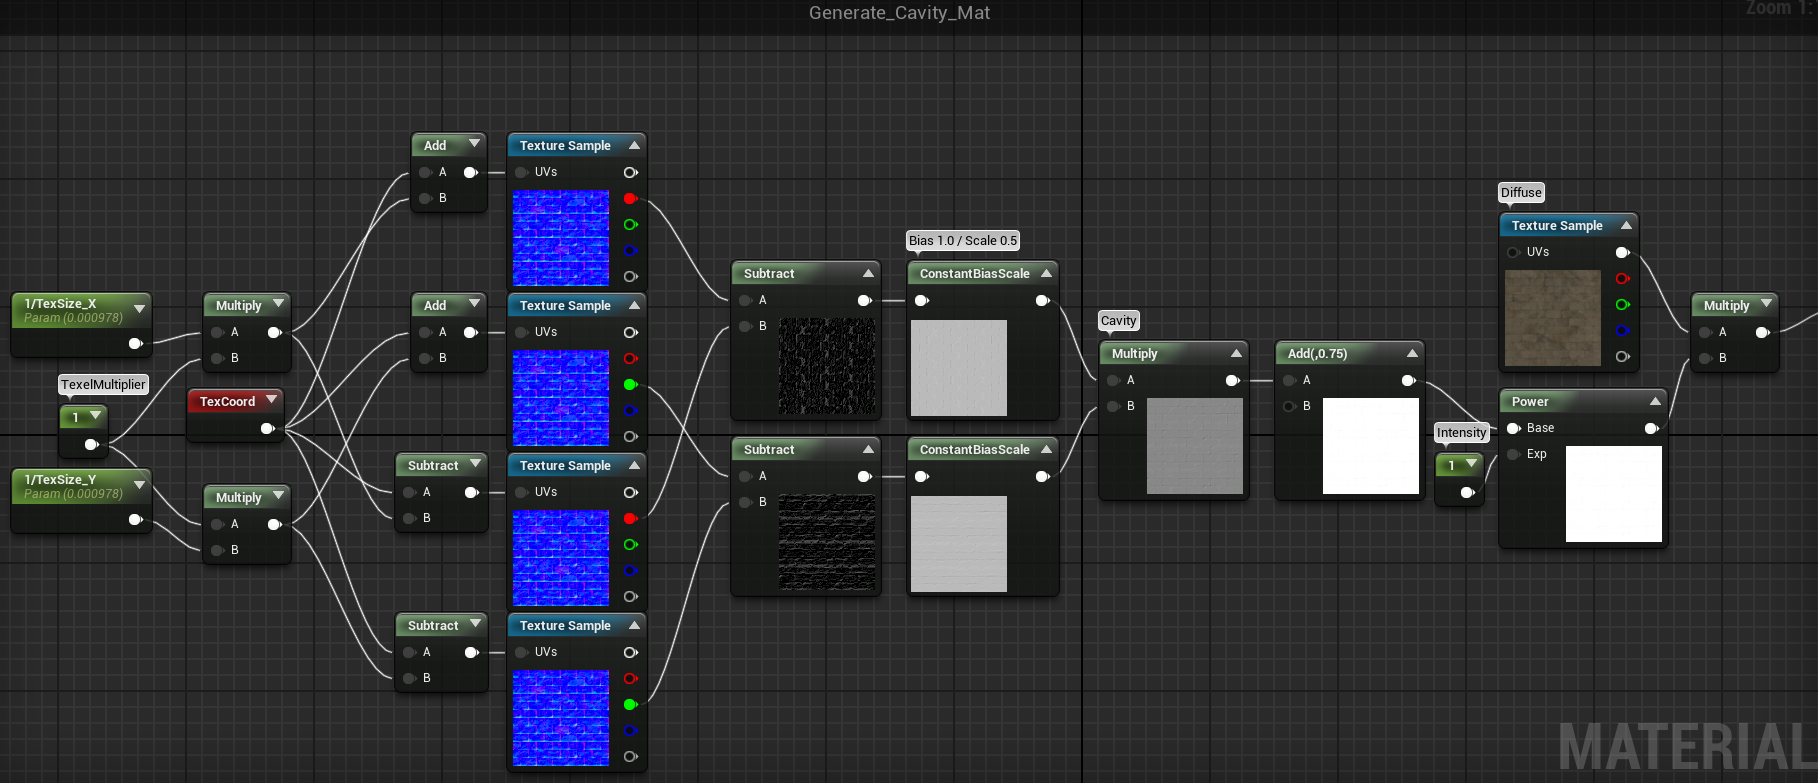
When someone over at the unreal forums asked for a way to generate cavity maps in the material editor I thought this might be interesting and quickly put together the following material.
The basic idea is to offset the normal maps green and red channel in two directions and compar both samples.
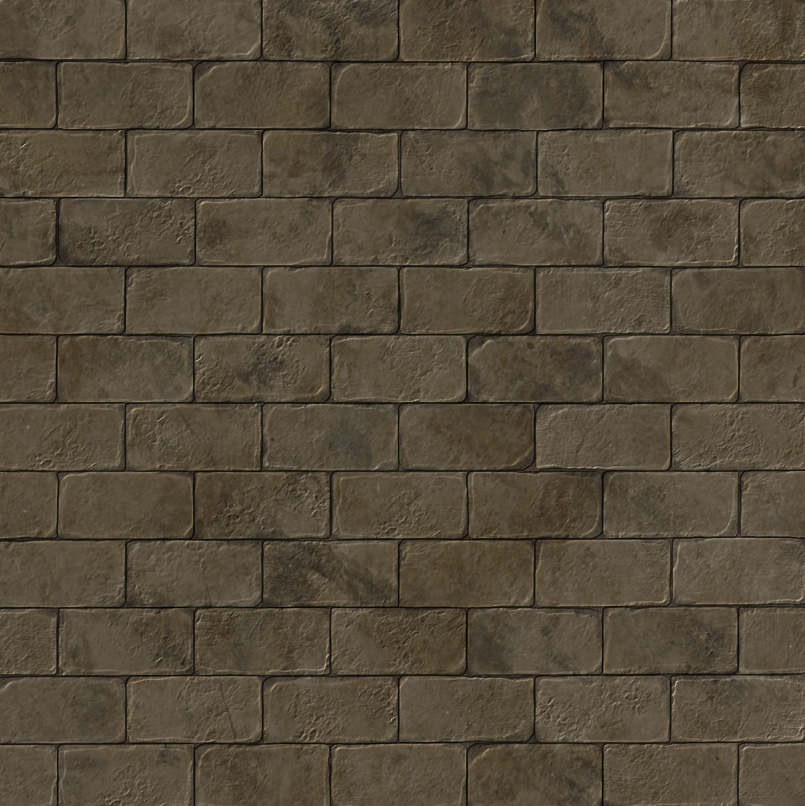
In order to save some instructions I decided not to use the overlay blend mode to apply the cavity map. Instead I'm biasing the cavity maps color range to make white the mid color and simply multiply this result by the diffuse map.
Material Setup
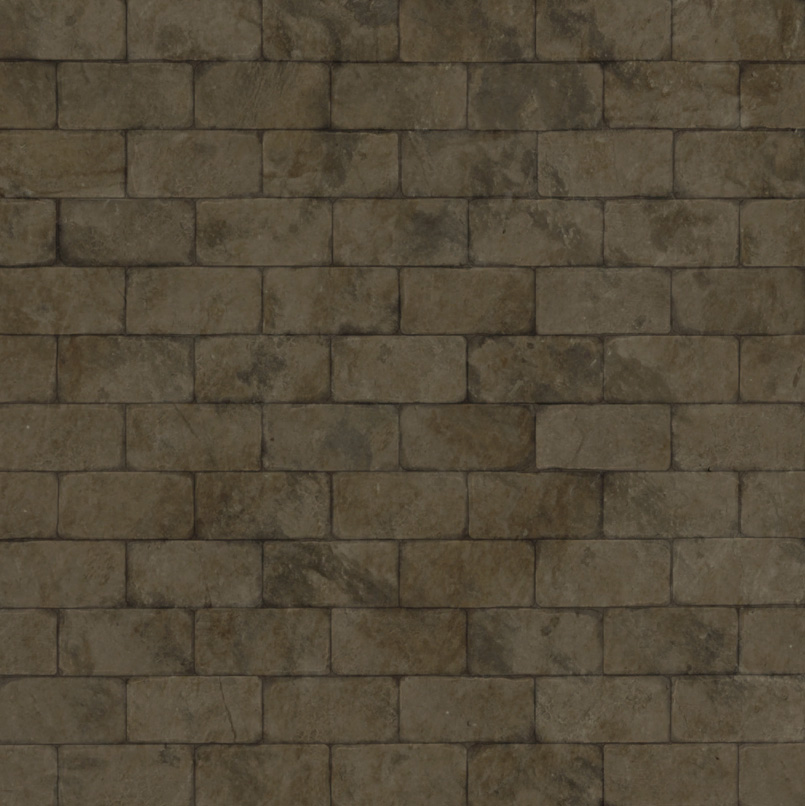
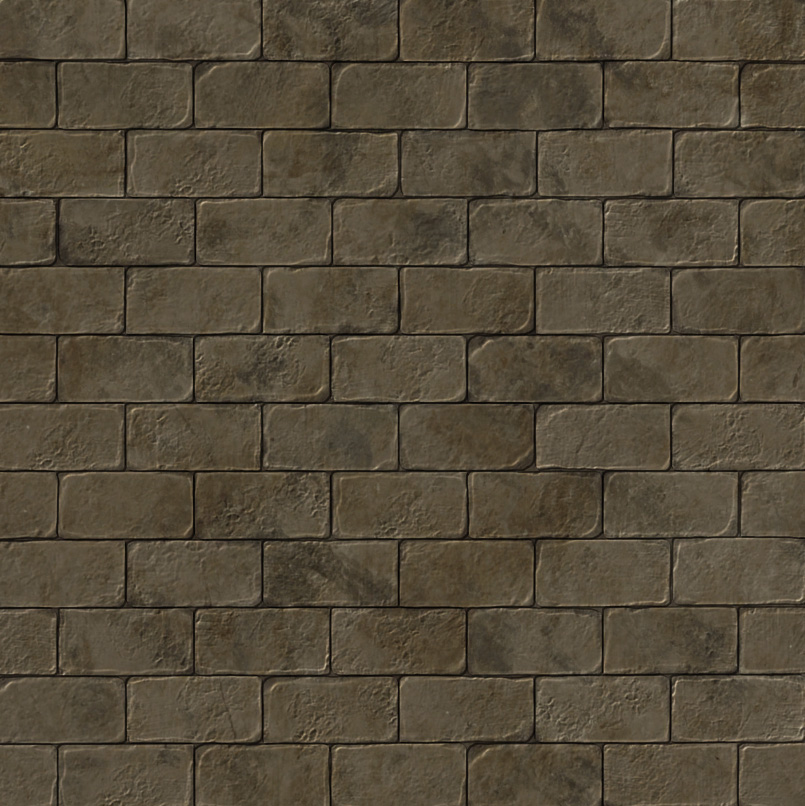
Results
Base Diffuse
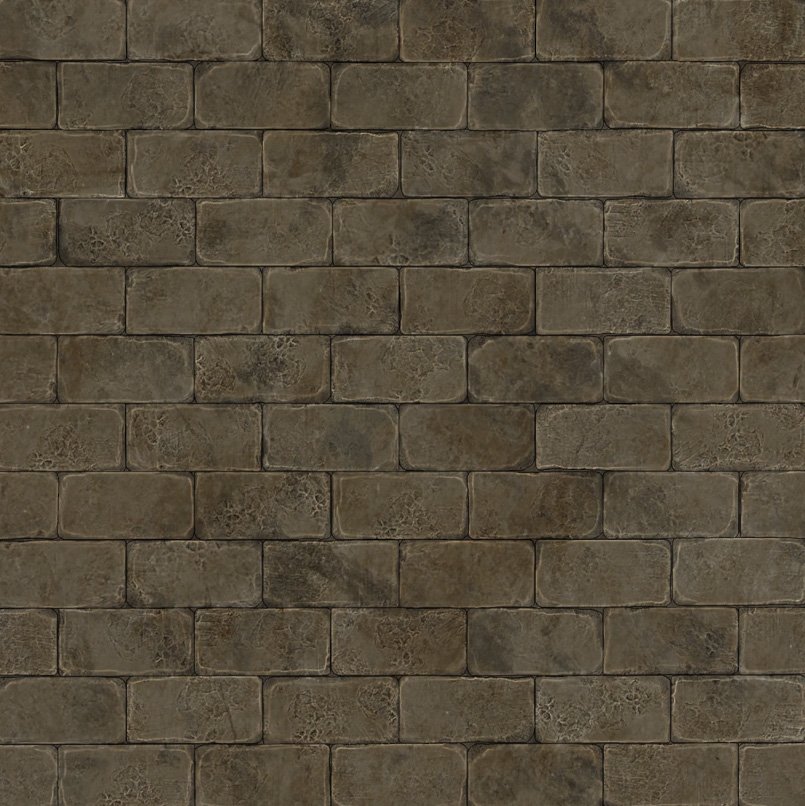
Generated Cavity with 1 Texel Offset
Generated Cavity with 0.5 Texel Offset
xNormal reference, generated offline
The basic idea is to offset the normal maps green and red channel in two directions and compar both samples.
In order to save some instructions I decided not to use the overlay blend mode to apply the cavity map. Instead I'm biasing the cavity maps color range to make white the mid color and simply multiply this result by the diffuse map.
Material Setup
Results
Base Diffuse
Generated Cavity with 1 Texel Offset
Generated Cavity with 0.5 Texel Offset
xNormal reference, generated offline
Tuesday, April 1, 2014
[UE4 Quick Tip] Environment Maps as a Post Process
In unreal engine 4 you can use ambient cubemaps which are applied as a post process. This is nice, espacially for dynamically lit scenes, but by using your own post process material you can create a huge variety of effects with full manual control.
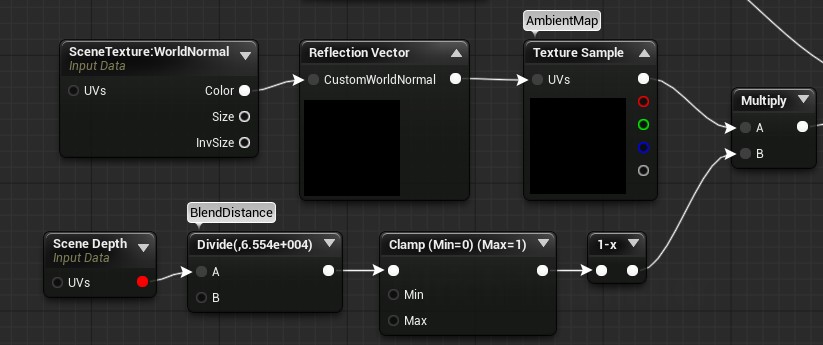
Using an ambient cubemap in a post process effect is pretty similar to sampling a cubemap in a regular material, except that you'll need to use the G-Buffer world normals for calculating the reflection vector. To avoid issues with the sky(dome) you can simply fade out the effect based on scene depth.
The most important part is probably blending the ambient map with the already rendered scene. There are many ways of doing this, things you could take into account: scene brightness, metalness, roughness (sampling different MipMaps) etc. I won't go into detail here, just keep in mind that simply adding the ambient map to the scene color won't do the job.
Using an ambient cubemap in a post process effect is pretty similar to sampling a cubemap in a regular material, except that you'll need to use the G-Buffer world normals for calculating the reflection vector. To avoid issues with the sky(dome) you can simply fade out the effect based on scene depth.
The most important part is probably blending the ambient map with the already rendered scene. There are many ways of doing this, things you could take into account: scene brightness, metalness, roughness (sampling different MipMaps) etc. I won't go into detail here, just keep in mind that simply adding the ambient map to the scene color won't do the job.
Subscribe to:
Posts (Atom)