This post is about generating normals from height maps on runtime in the material editor.
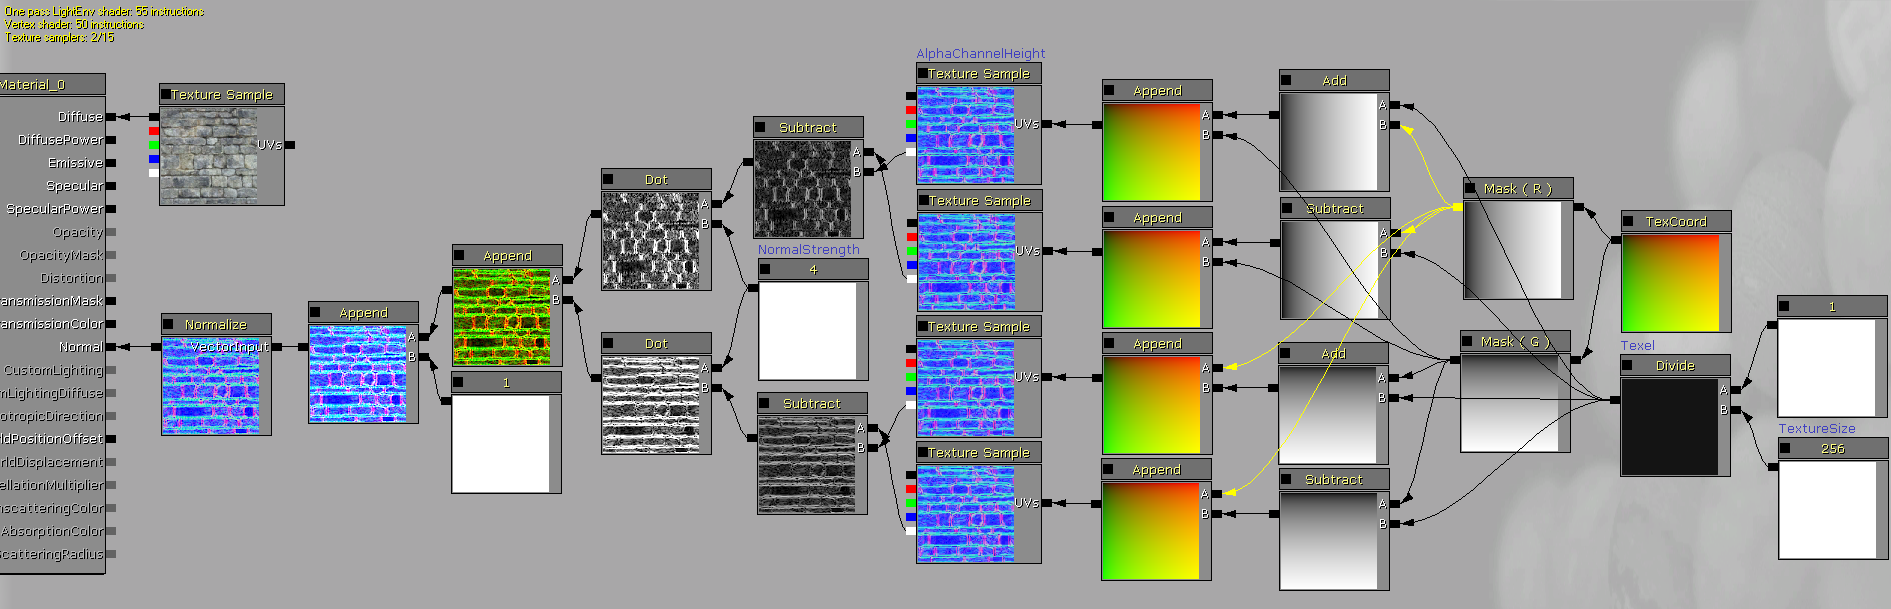
UDK comes with a material function that can do this job but it's rather poor: the result is pretty noisy, might suffer from small artifacts and shifts the texture by half a texel. The main reason for this is that it only offsets the height texture in one direction on both, x and y axis by a certain amount - then calculates normals from change in height.
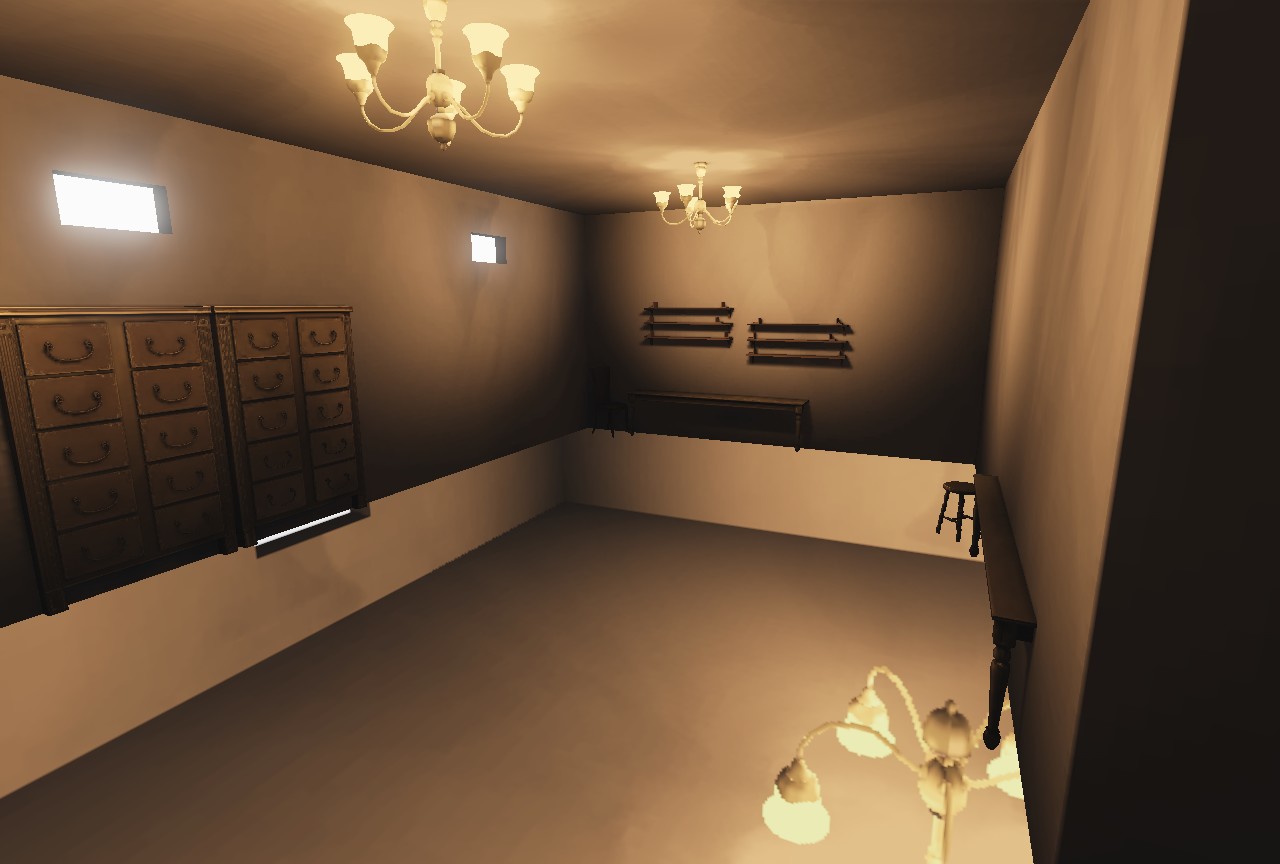
Material
For a better result you should offset the height texture in both directions on both axes. It's also recommended to do these offsets in texel increments.

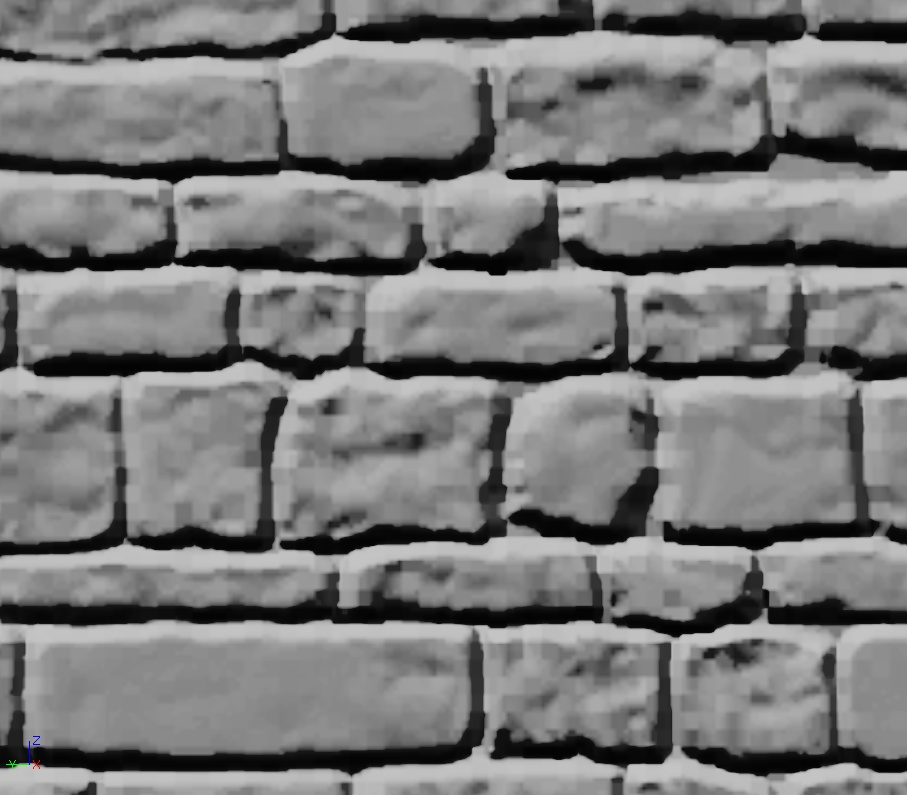
Of course there are more advanced algorithms available to generate normals but these are expensive and therefore not advisable for real-time usage. As an example, this is the code from ATI's NormalMapGenerator/Rendermonkey implemented in a custom node (8 samples, Sobel kernel):
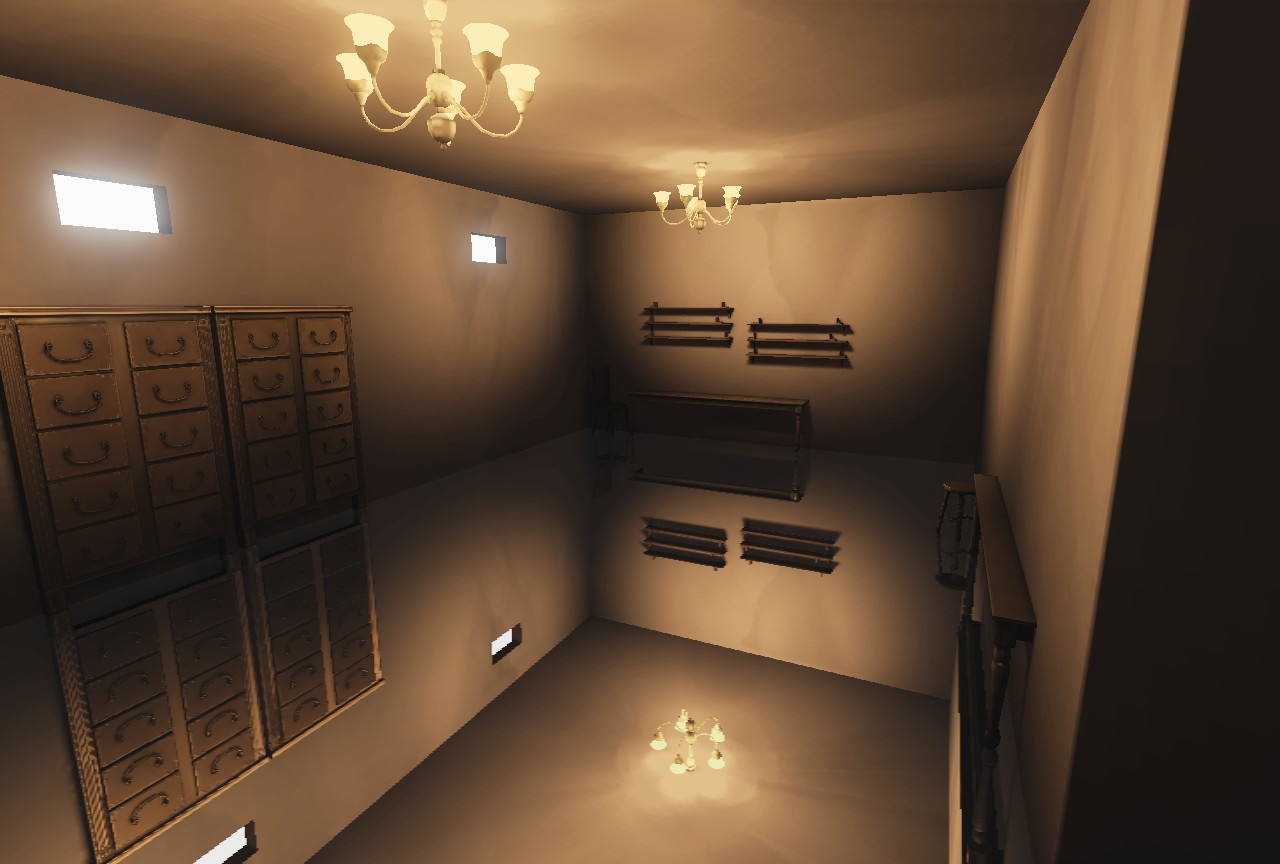
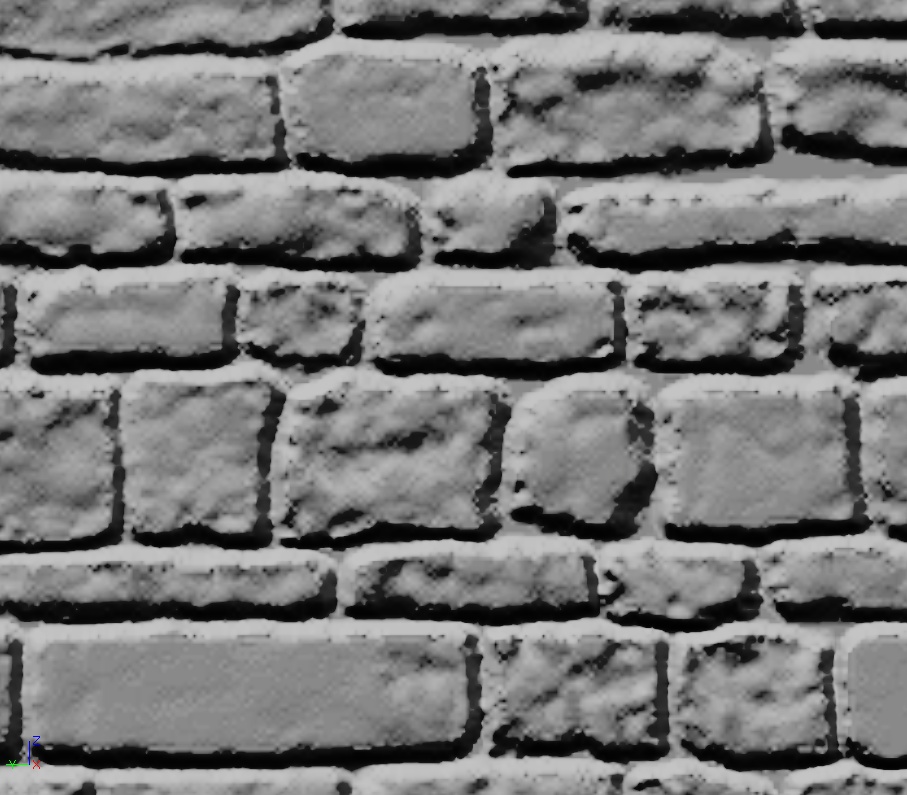
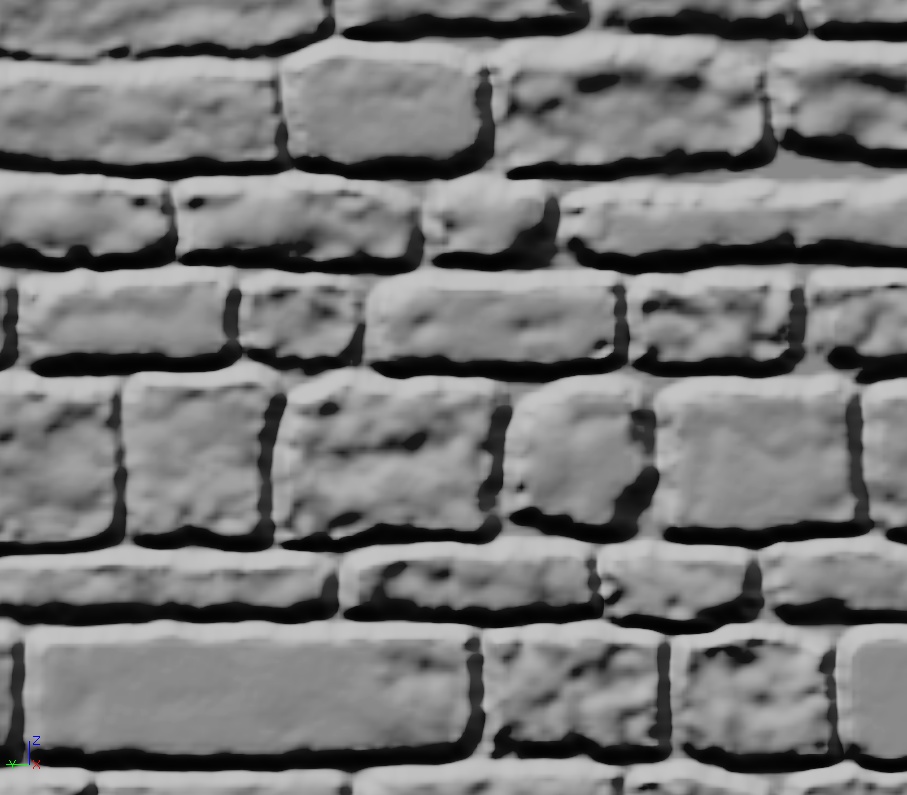
 Comparison
UDK Material Function (55 instructions)
Recommended Material (55 instructions)
ATI/Rendermonkey/Sobel (70 instructions)
For further comparison, here's the equivalent external normalmap
TC_Normalmap (48 instructions)
TC_NormalmapUncompressed (51 instructions)