The basic material setup is described at the UDN page:
http://udn.epicgames.com/Three/TerrainAdvancedTextures.html#Texture%20Packing:%20Implementing%20large%20texture%20tile%20sets
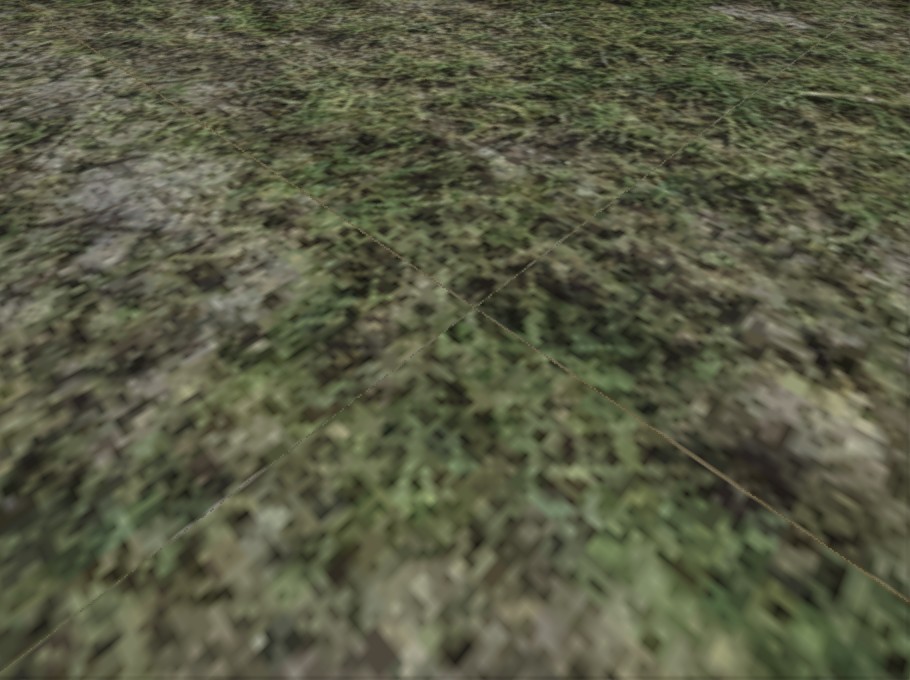
As stated there will occure noticable seams when using this setup for tileable textures like on a terrain.
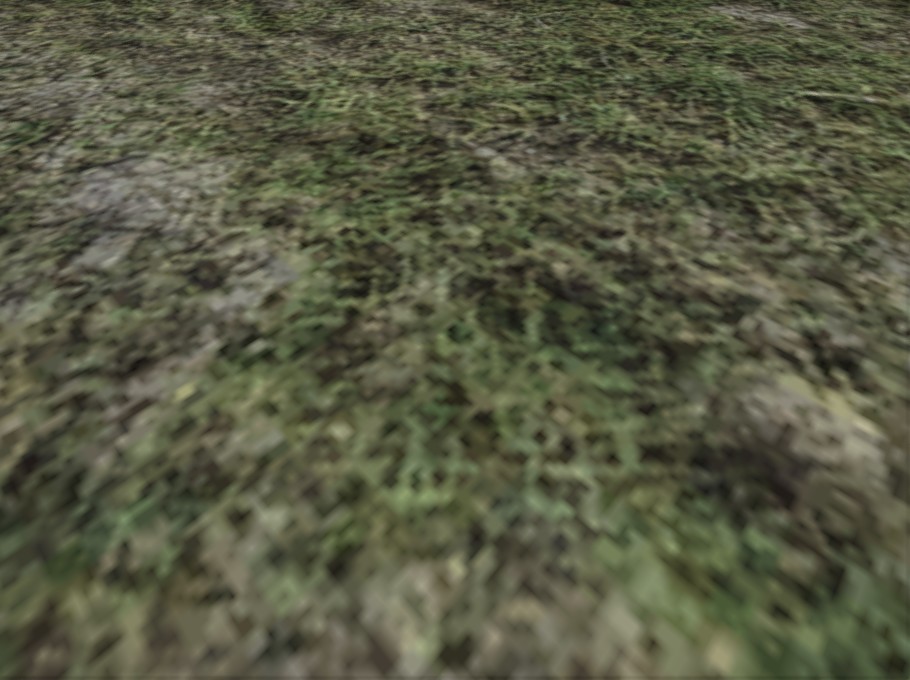
Usually you will end up with something like this:
In fact there are two separate kind of issues which need to be fixed both.
- some kind of pixel artifacts caused by the 'frac' function
- texture seams caused by mipmapping
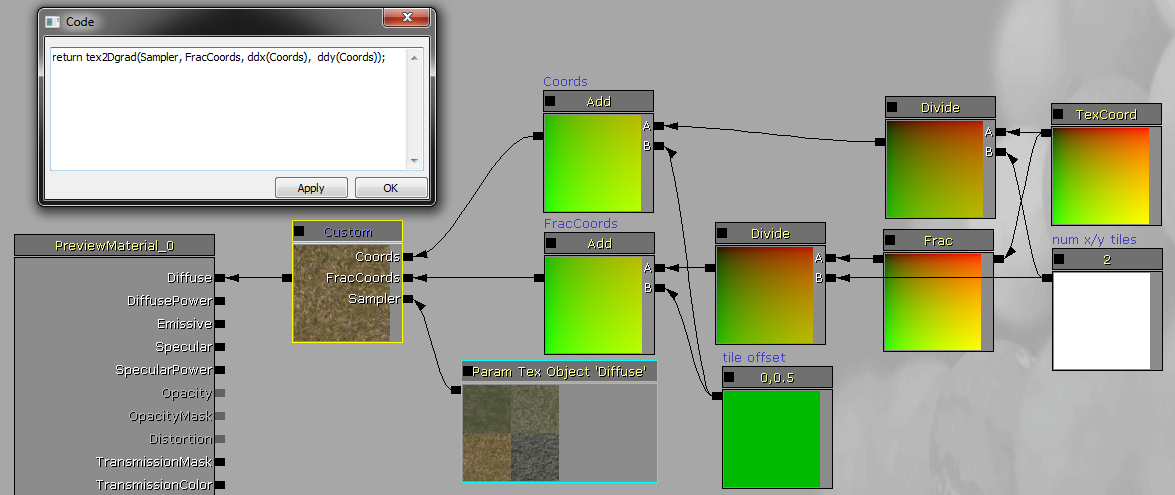
1.) To fix the pixel artifacts it is nesseccary to use a custom node with some HLSL code. Since we use a frac function there is a huge difference in texture coordinates across a seam, something like 0.49 to 0.01 (assuming an atlas with 4 textures). Such gaps usually occure only when a surface is far away from the camera, which makes the GPU to chose the smallest mipmap for these pixels. So what you can see here is not just a random artifact but the same texture at a very low resolution:
For the hlsl part we make use of the tex2dgrad function. This one allows us to use different texcoords for the actual texturing and the mipmap selection. To get rid of the artifacts it is as easy as using simple texture coordinates (without frac) for mipmapping, whilst 'frac coords' determine the texture mapping.
Keep in mind that custom nodes require custom textures or texture objects as an input to sample a textur.
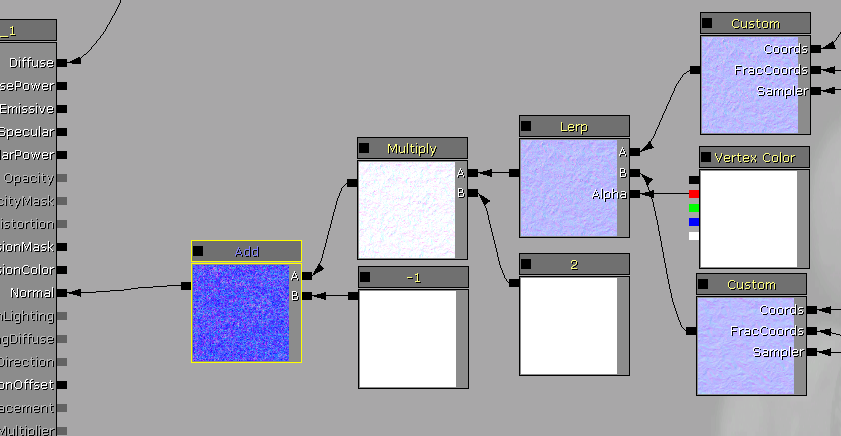
If sampling a normal map in a custom node it is necessary to manually bring it from [0,1] to the [-1,1] range. Therefore multiply your final normal input by 2 and subtract 1:
2.) The second issue is indeed a 'real' seam, caused by mipmapping and linear filtering.
The basic idea for fixing those seams is to slightly shrink the sub textures and add a border afterwards. As a result mipmaps won't contain pixels of adjacent tiles, therefore the effective size of your texture will decrease. The wider the border, the more mipmaps won't contain seams.
You can find a detailed description of a corresponding workflow here:
http://mtnphil.wordpress.com/2011/09/26/terrain-texture-atlas-construction/
The proper border width can vary depending on your gameplay, level design or atlas composition (speaking about textures with similar brightness and color).
Where
n is the mipmap up to which you'd like to get rid of seams, the border
x should be
x^n pixels wide.
Back in the material editor the texture needs to be scaled and offset. The exact values depend on atlas/tile size and border pixel width. The scale is defined as
effective tile size / real tile size.
The offset is done in increments of
border pixels / atlas size.
Starting from the left, upper corner the first texture needs to be offset by one increment on both, the x- and y-axis. Each following textures requires 2 additional offset increments.
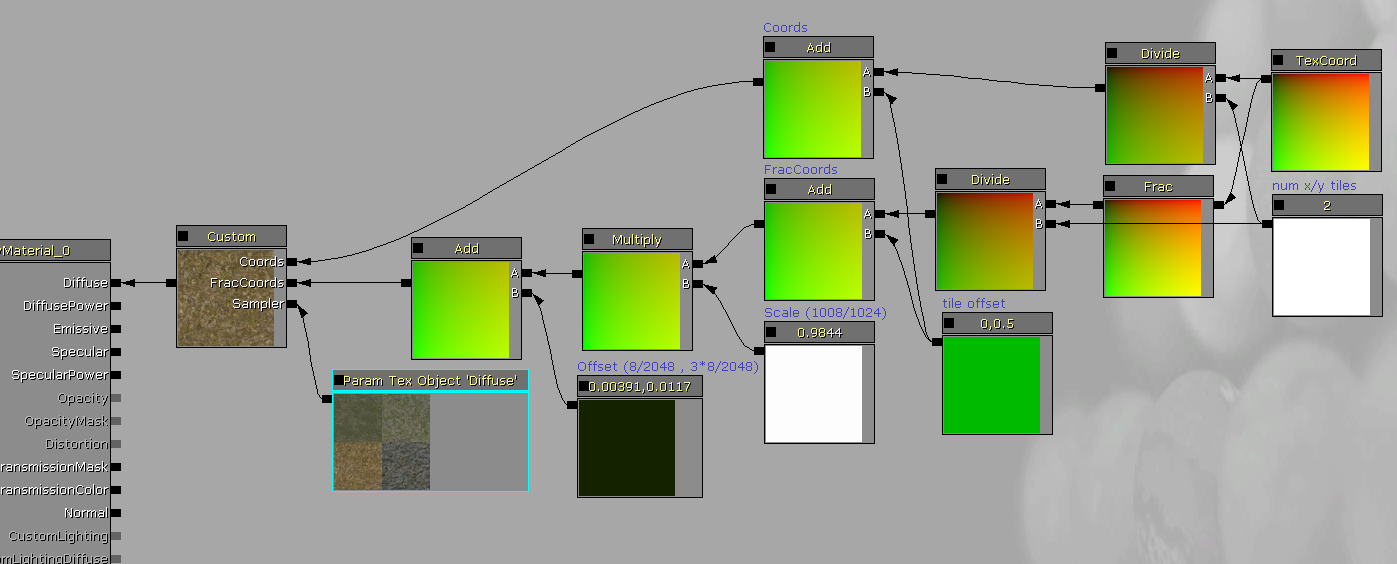
A screenshot is worth a thousand words, this is my material setup for a 2048²px atlas with 4 sub textures. Each texture has a 8px border which makes the effective size being 1008²px (instead of 1024²px):
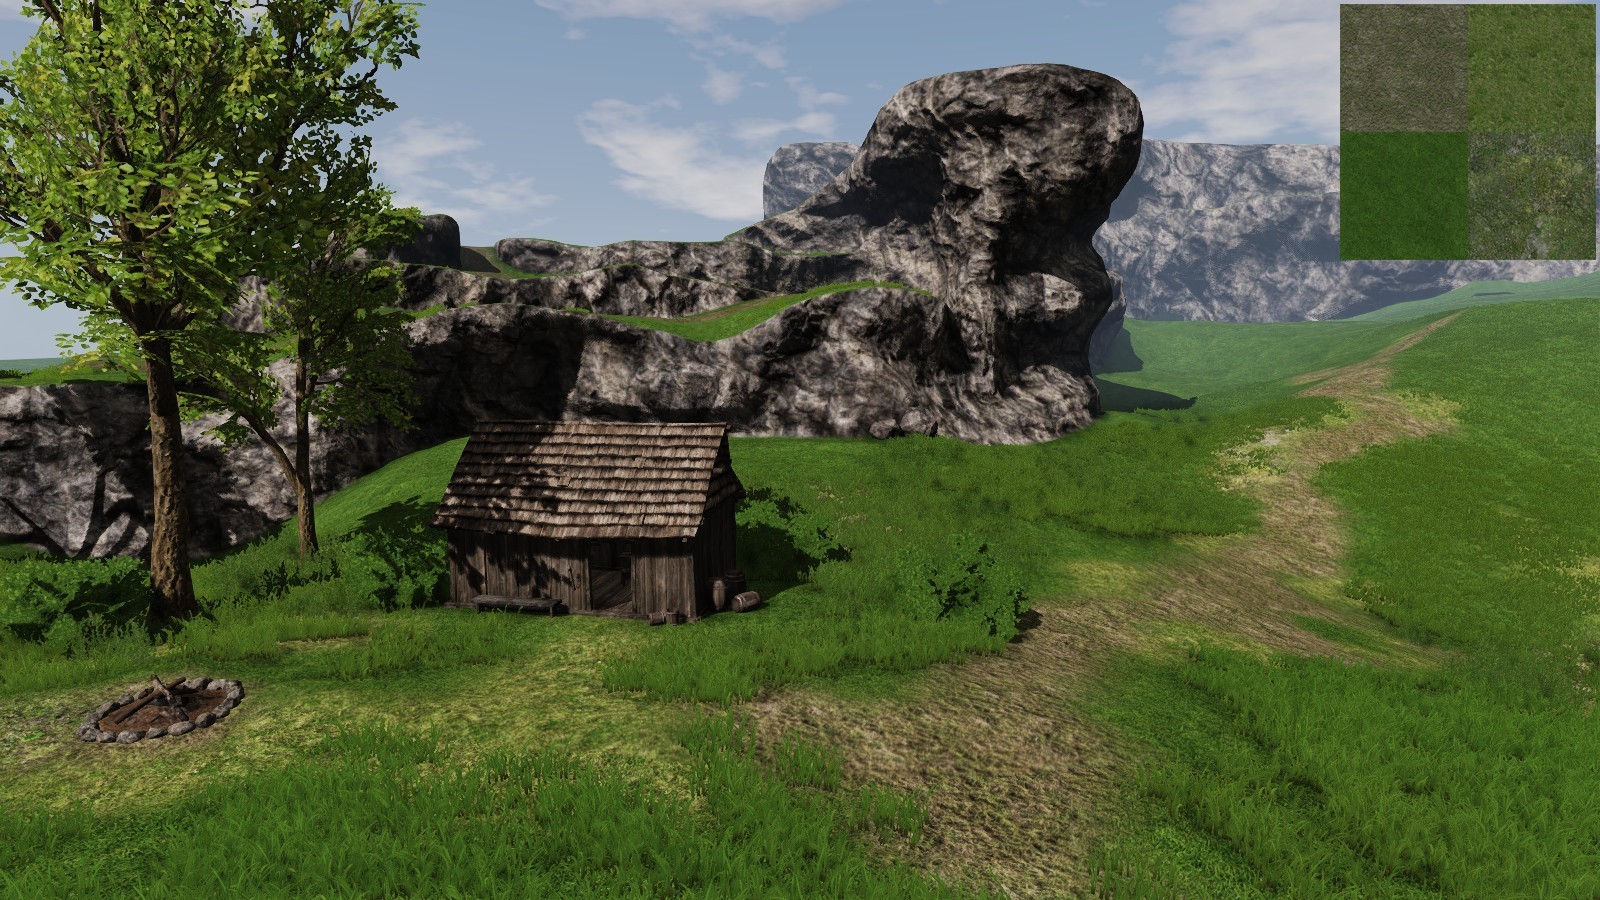
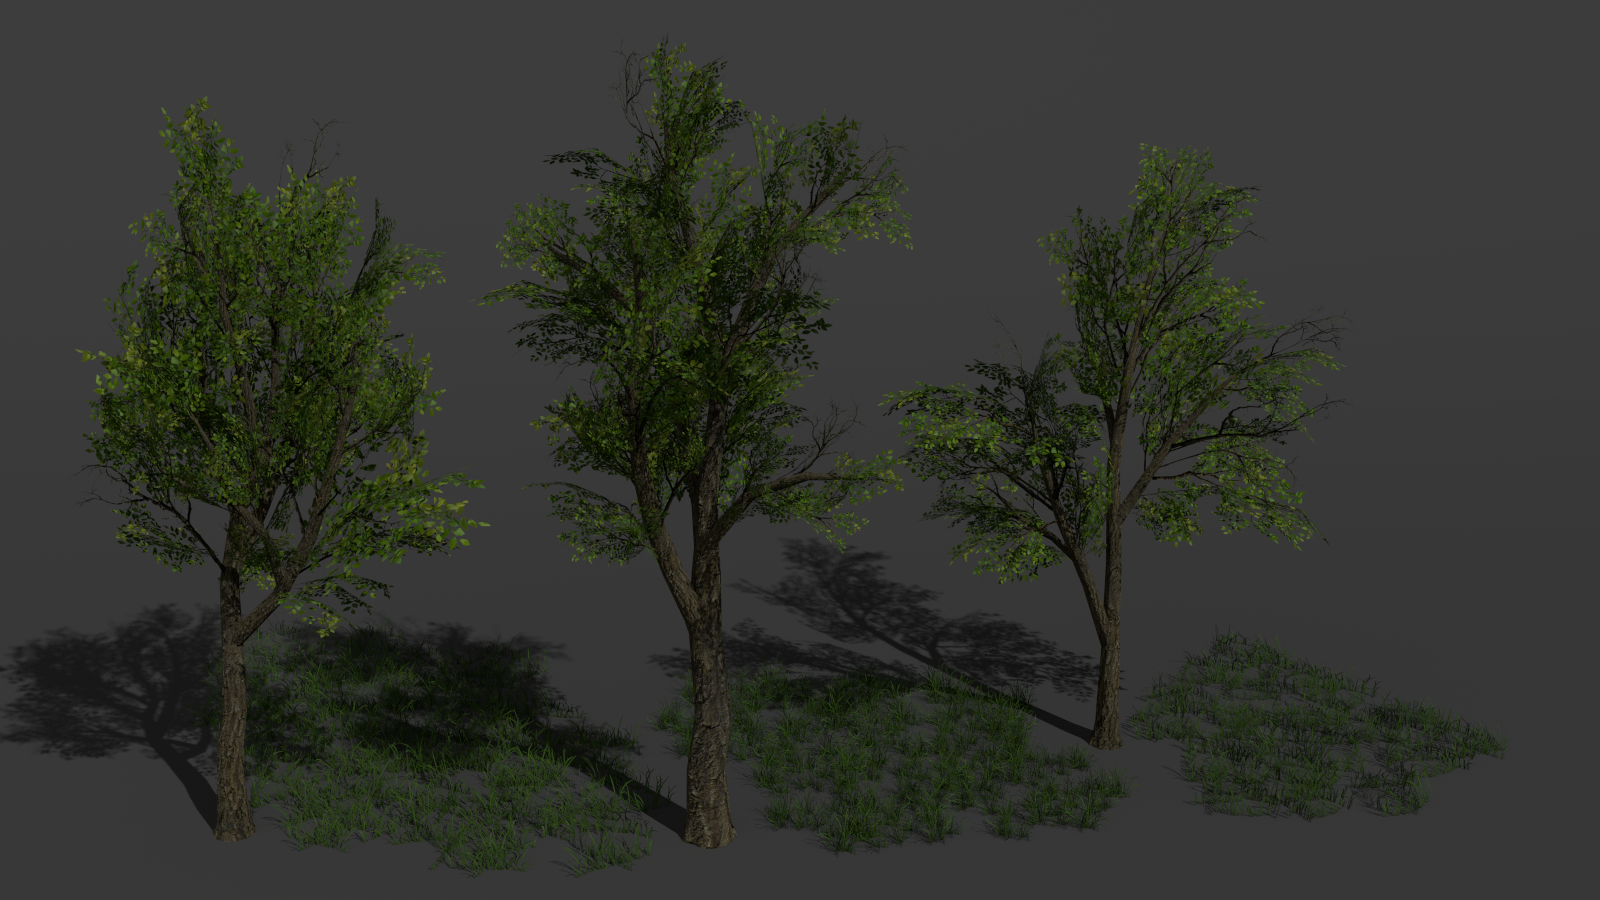
Final result:


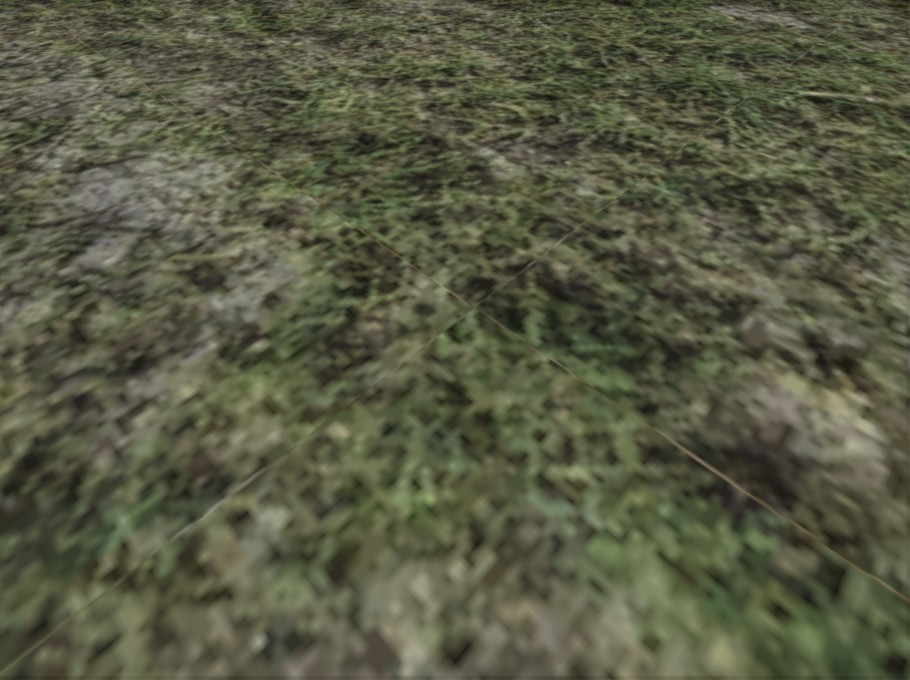


